By Åke Liljenberg, SM6Y
Design goals:
- Reasonable cost
- Lightweight – less than 900g including radio and batteries
- Using standard 2100 mAh LiFePo4 rechargeable battery
- Bluetooth LE interface to use CAT remote control wirelessly from an iPad (or computer)
- Possibility to run on an extra external battery if needed
- Not waterproof
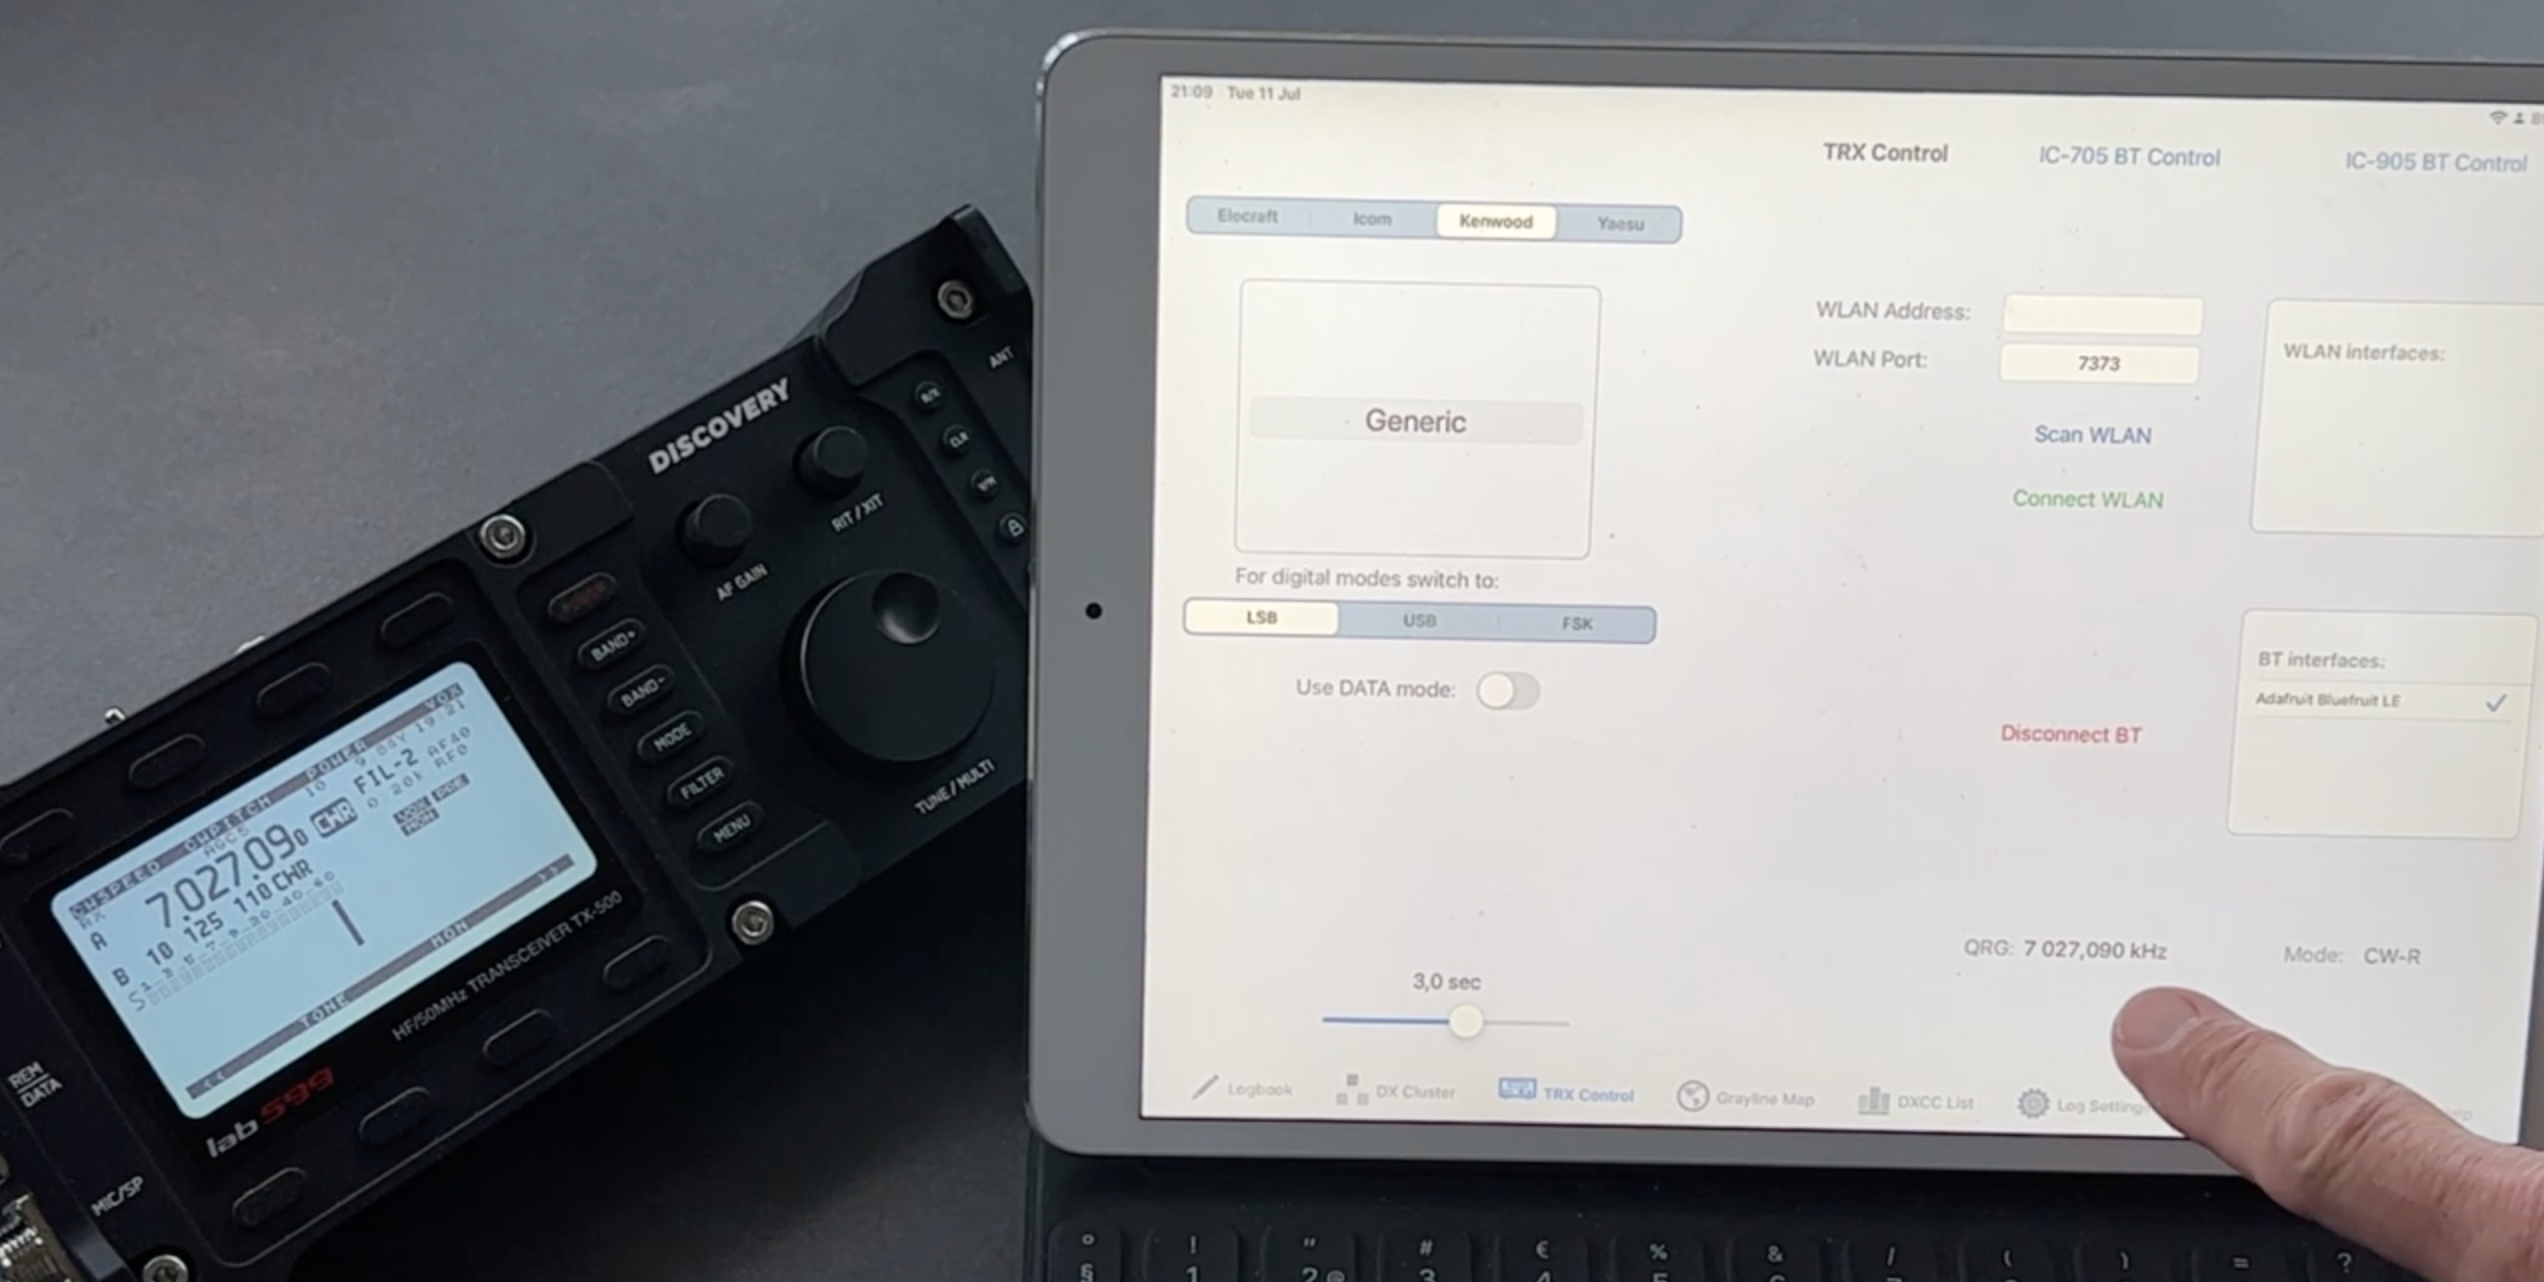
Below is a video (click on the image!) showing the DIY battery pack connecting wirelessly to the RUMLogNG2Go (excellent logging software by Thomas Lindner, DL2RUM) over Bluetooth LE. In the video you can see how it connects and reads the frequency of the TX-500. It also gives an example of when double-clicking on an entry in the DX cluster, the TX-500 moves to that station’s frequency.
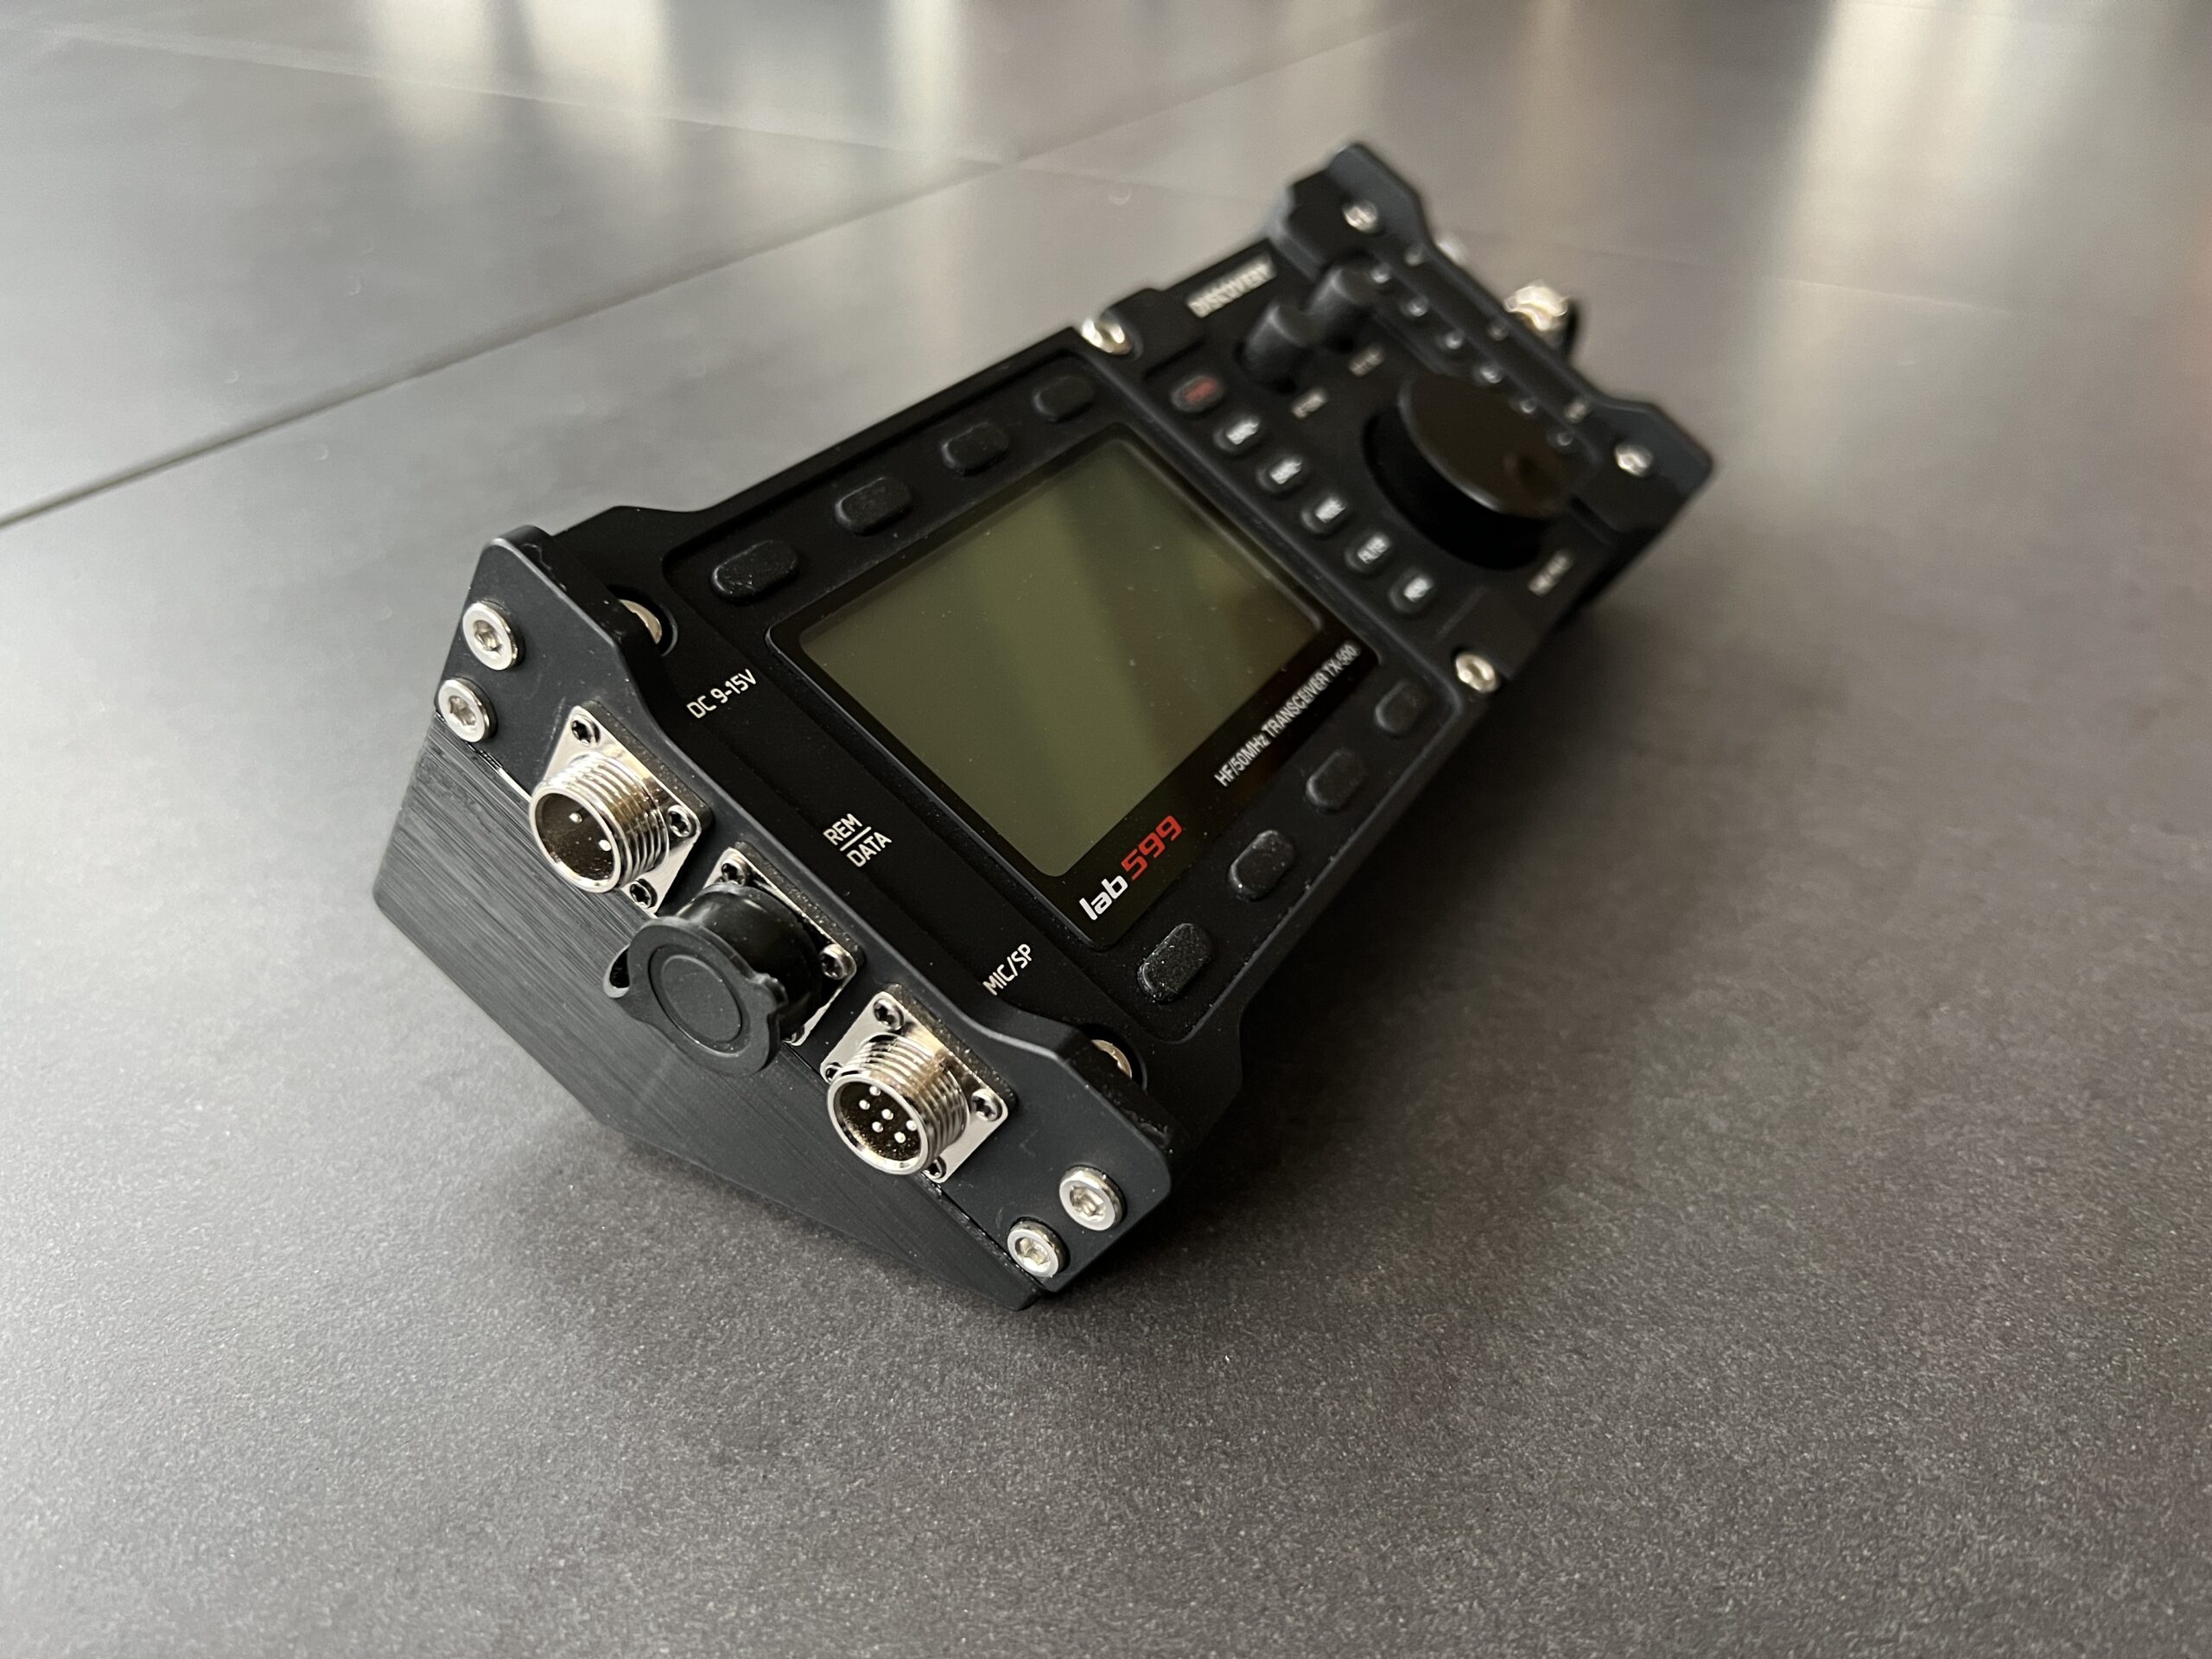
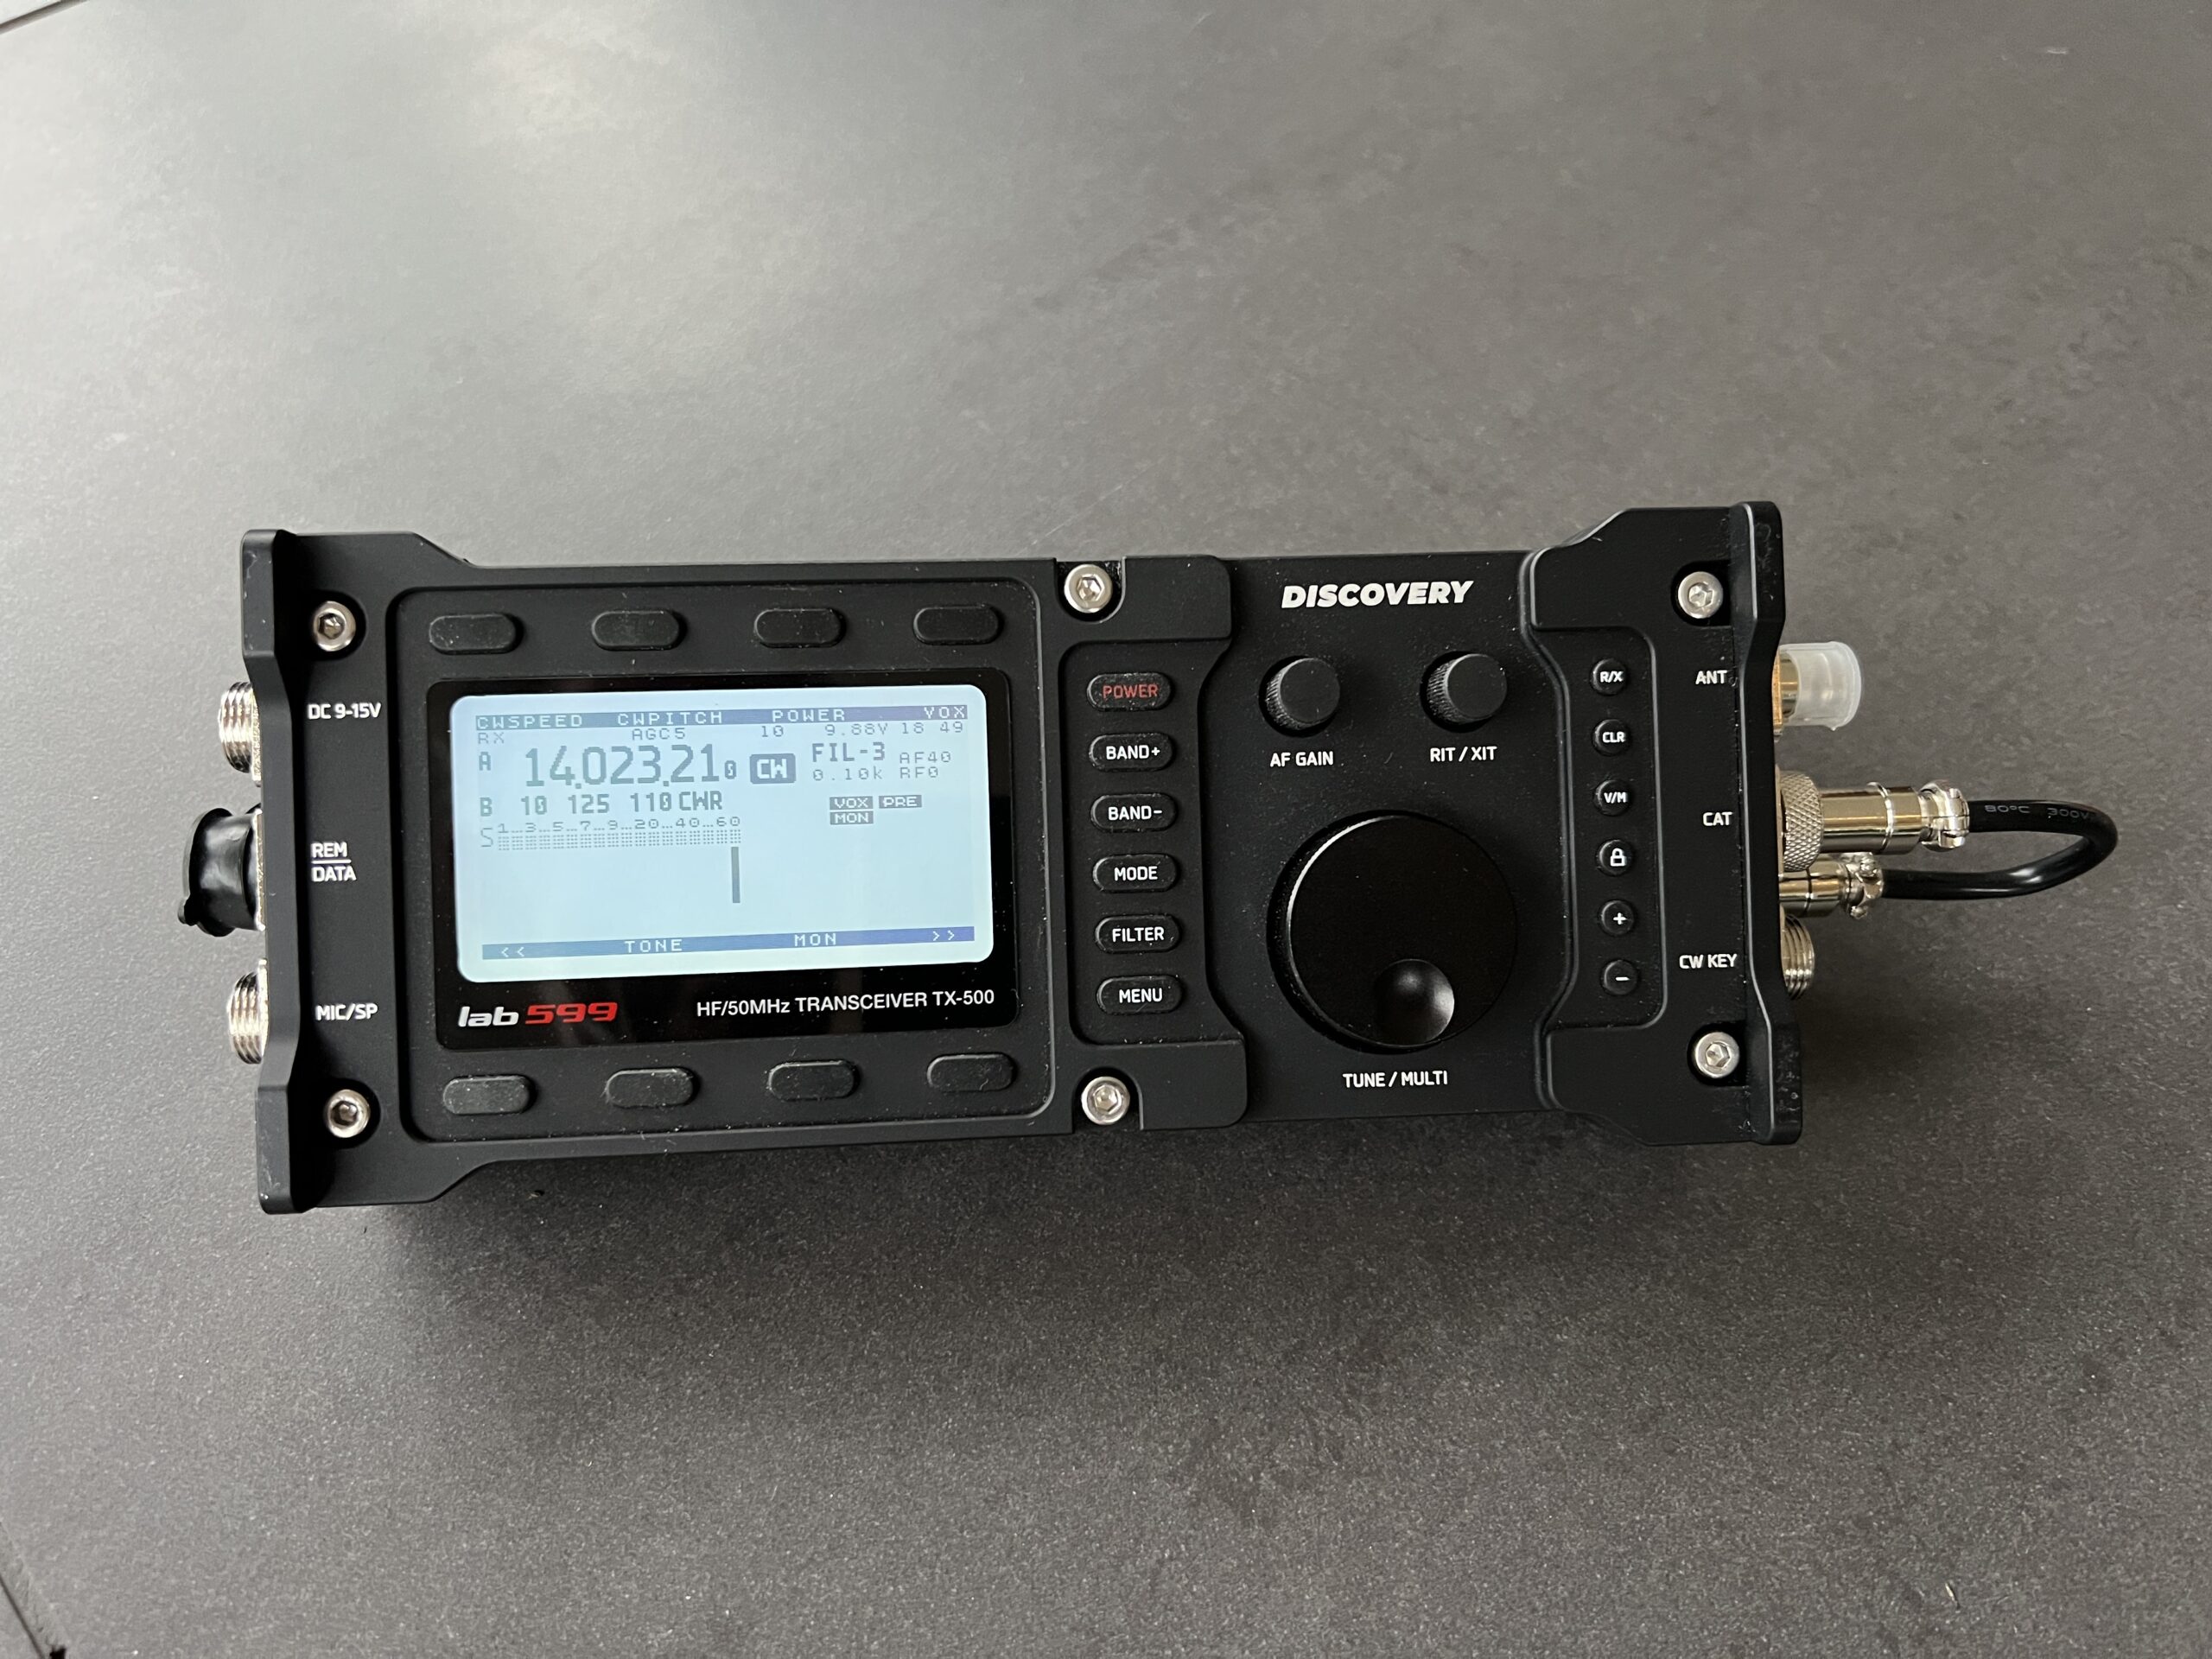
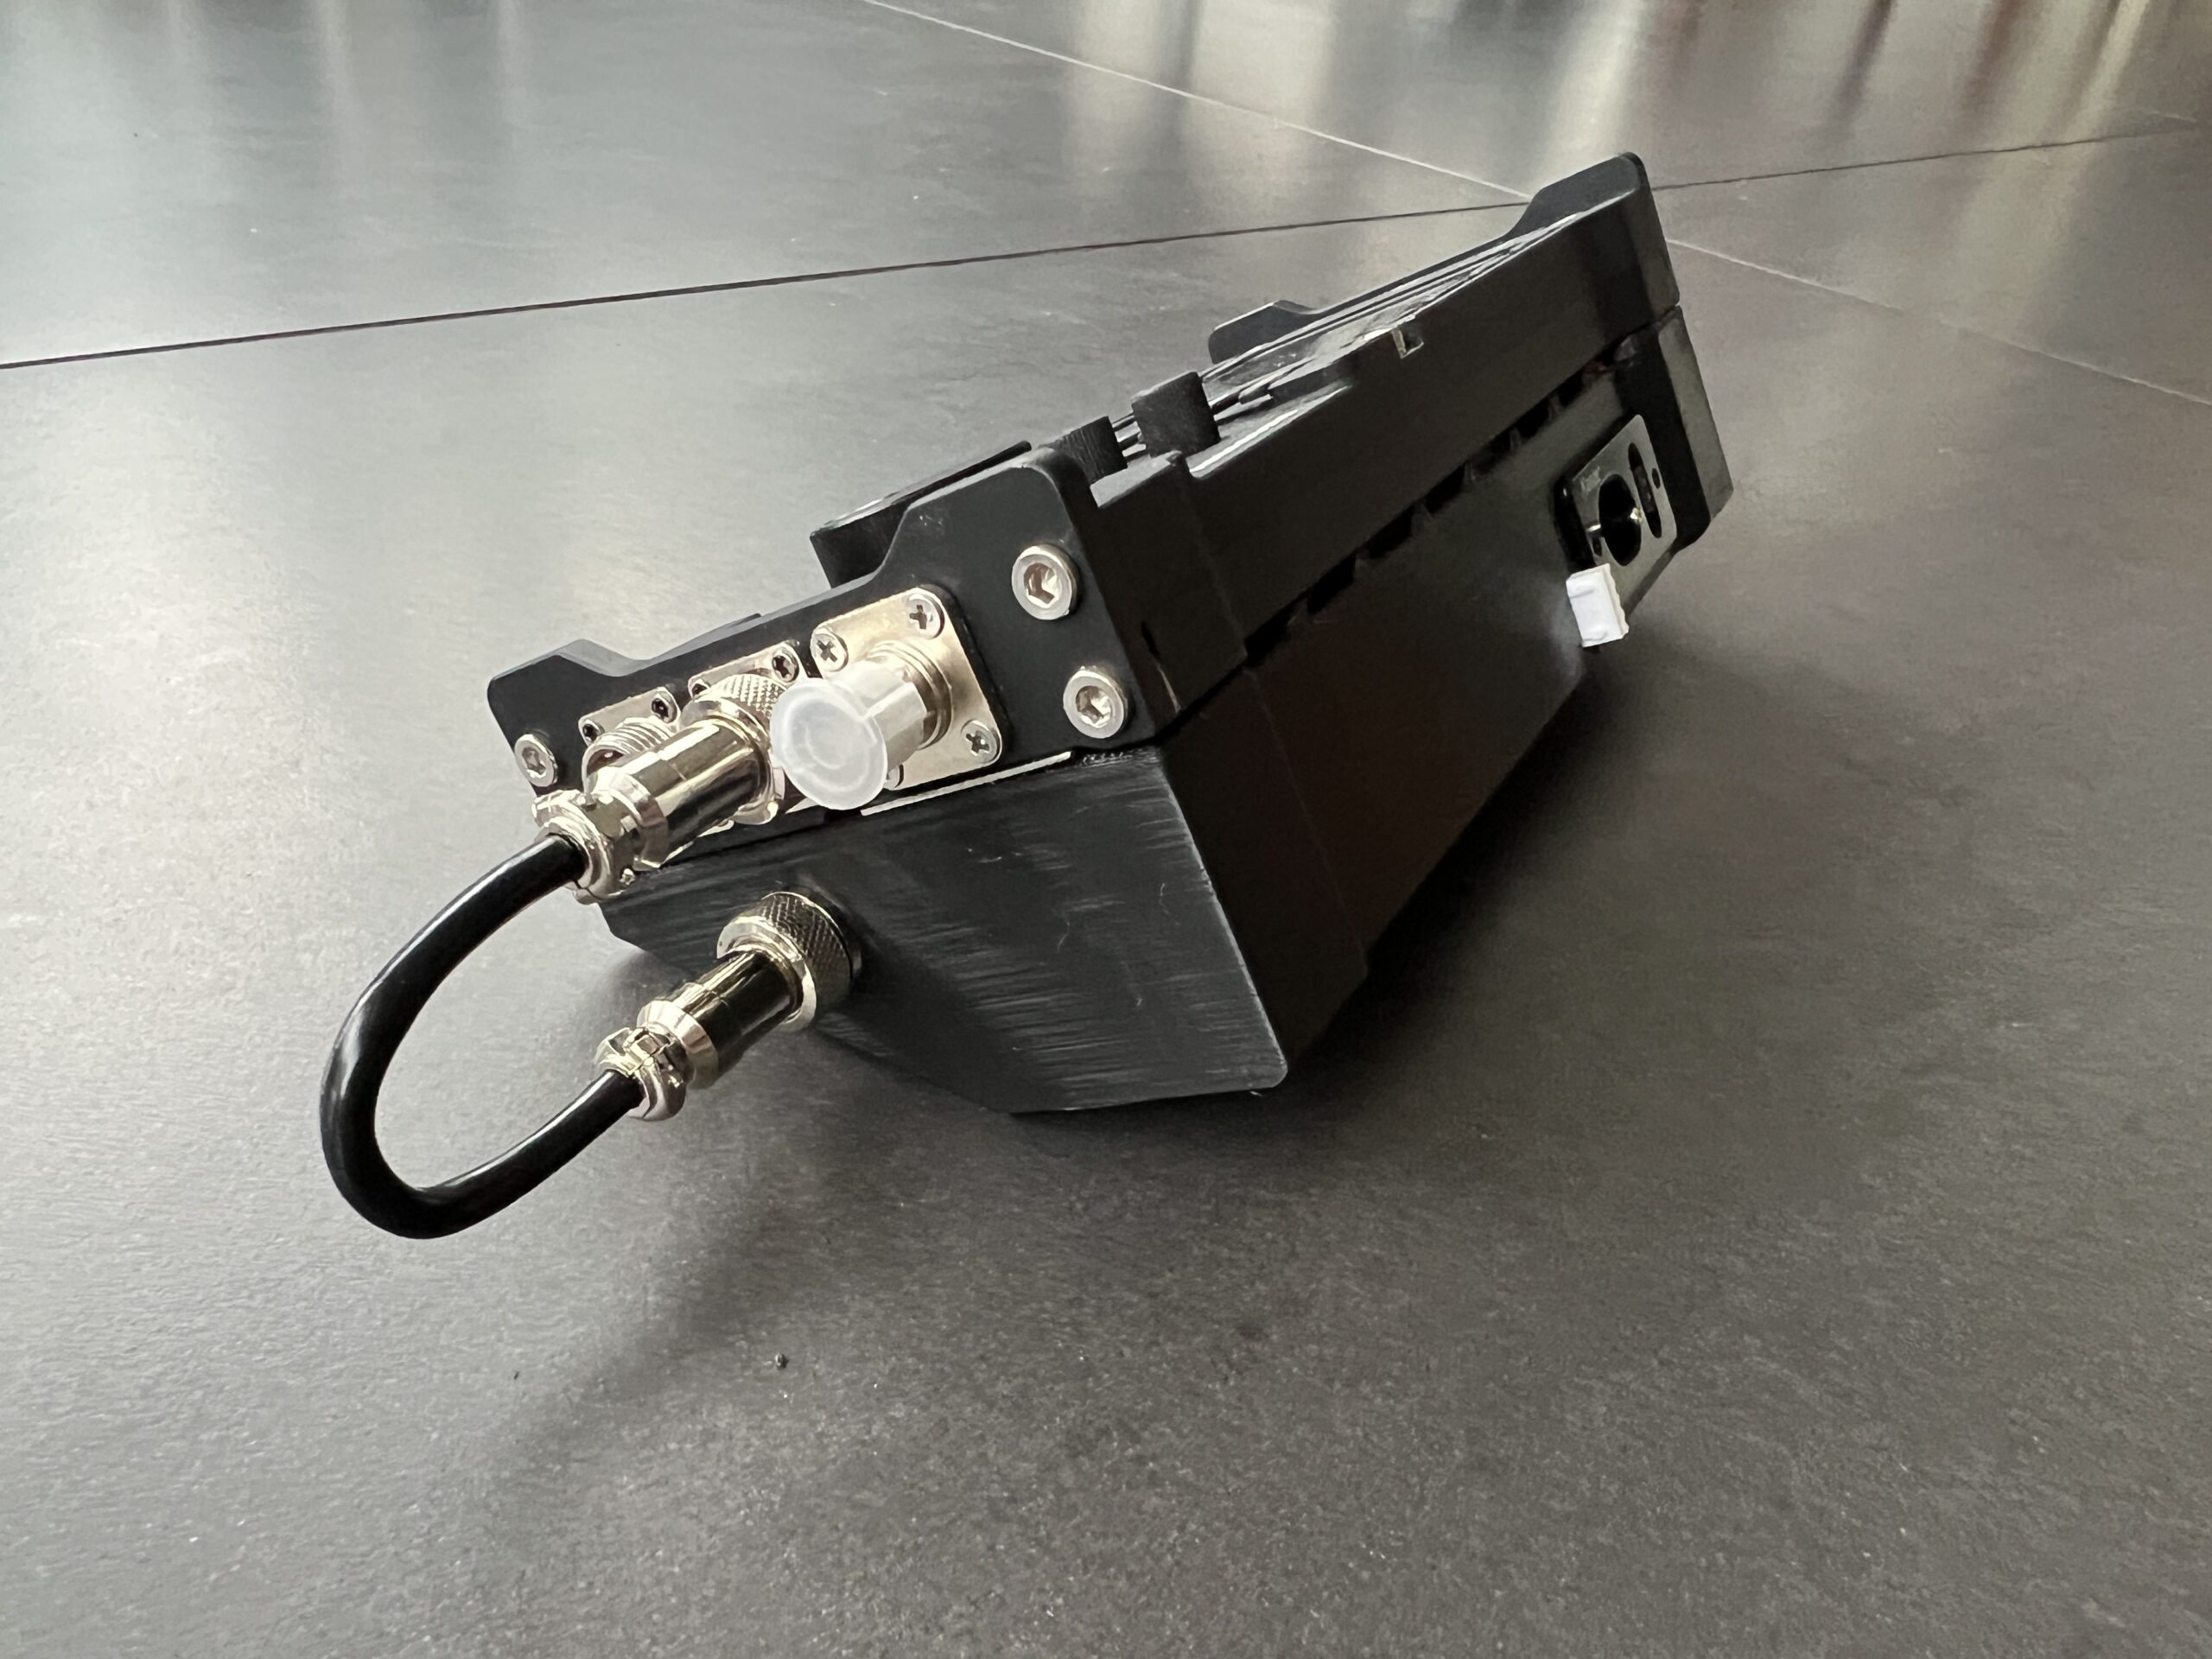
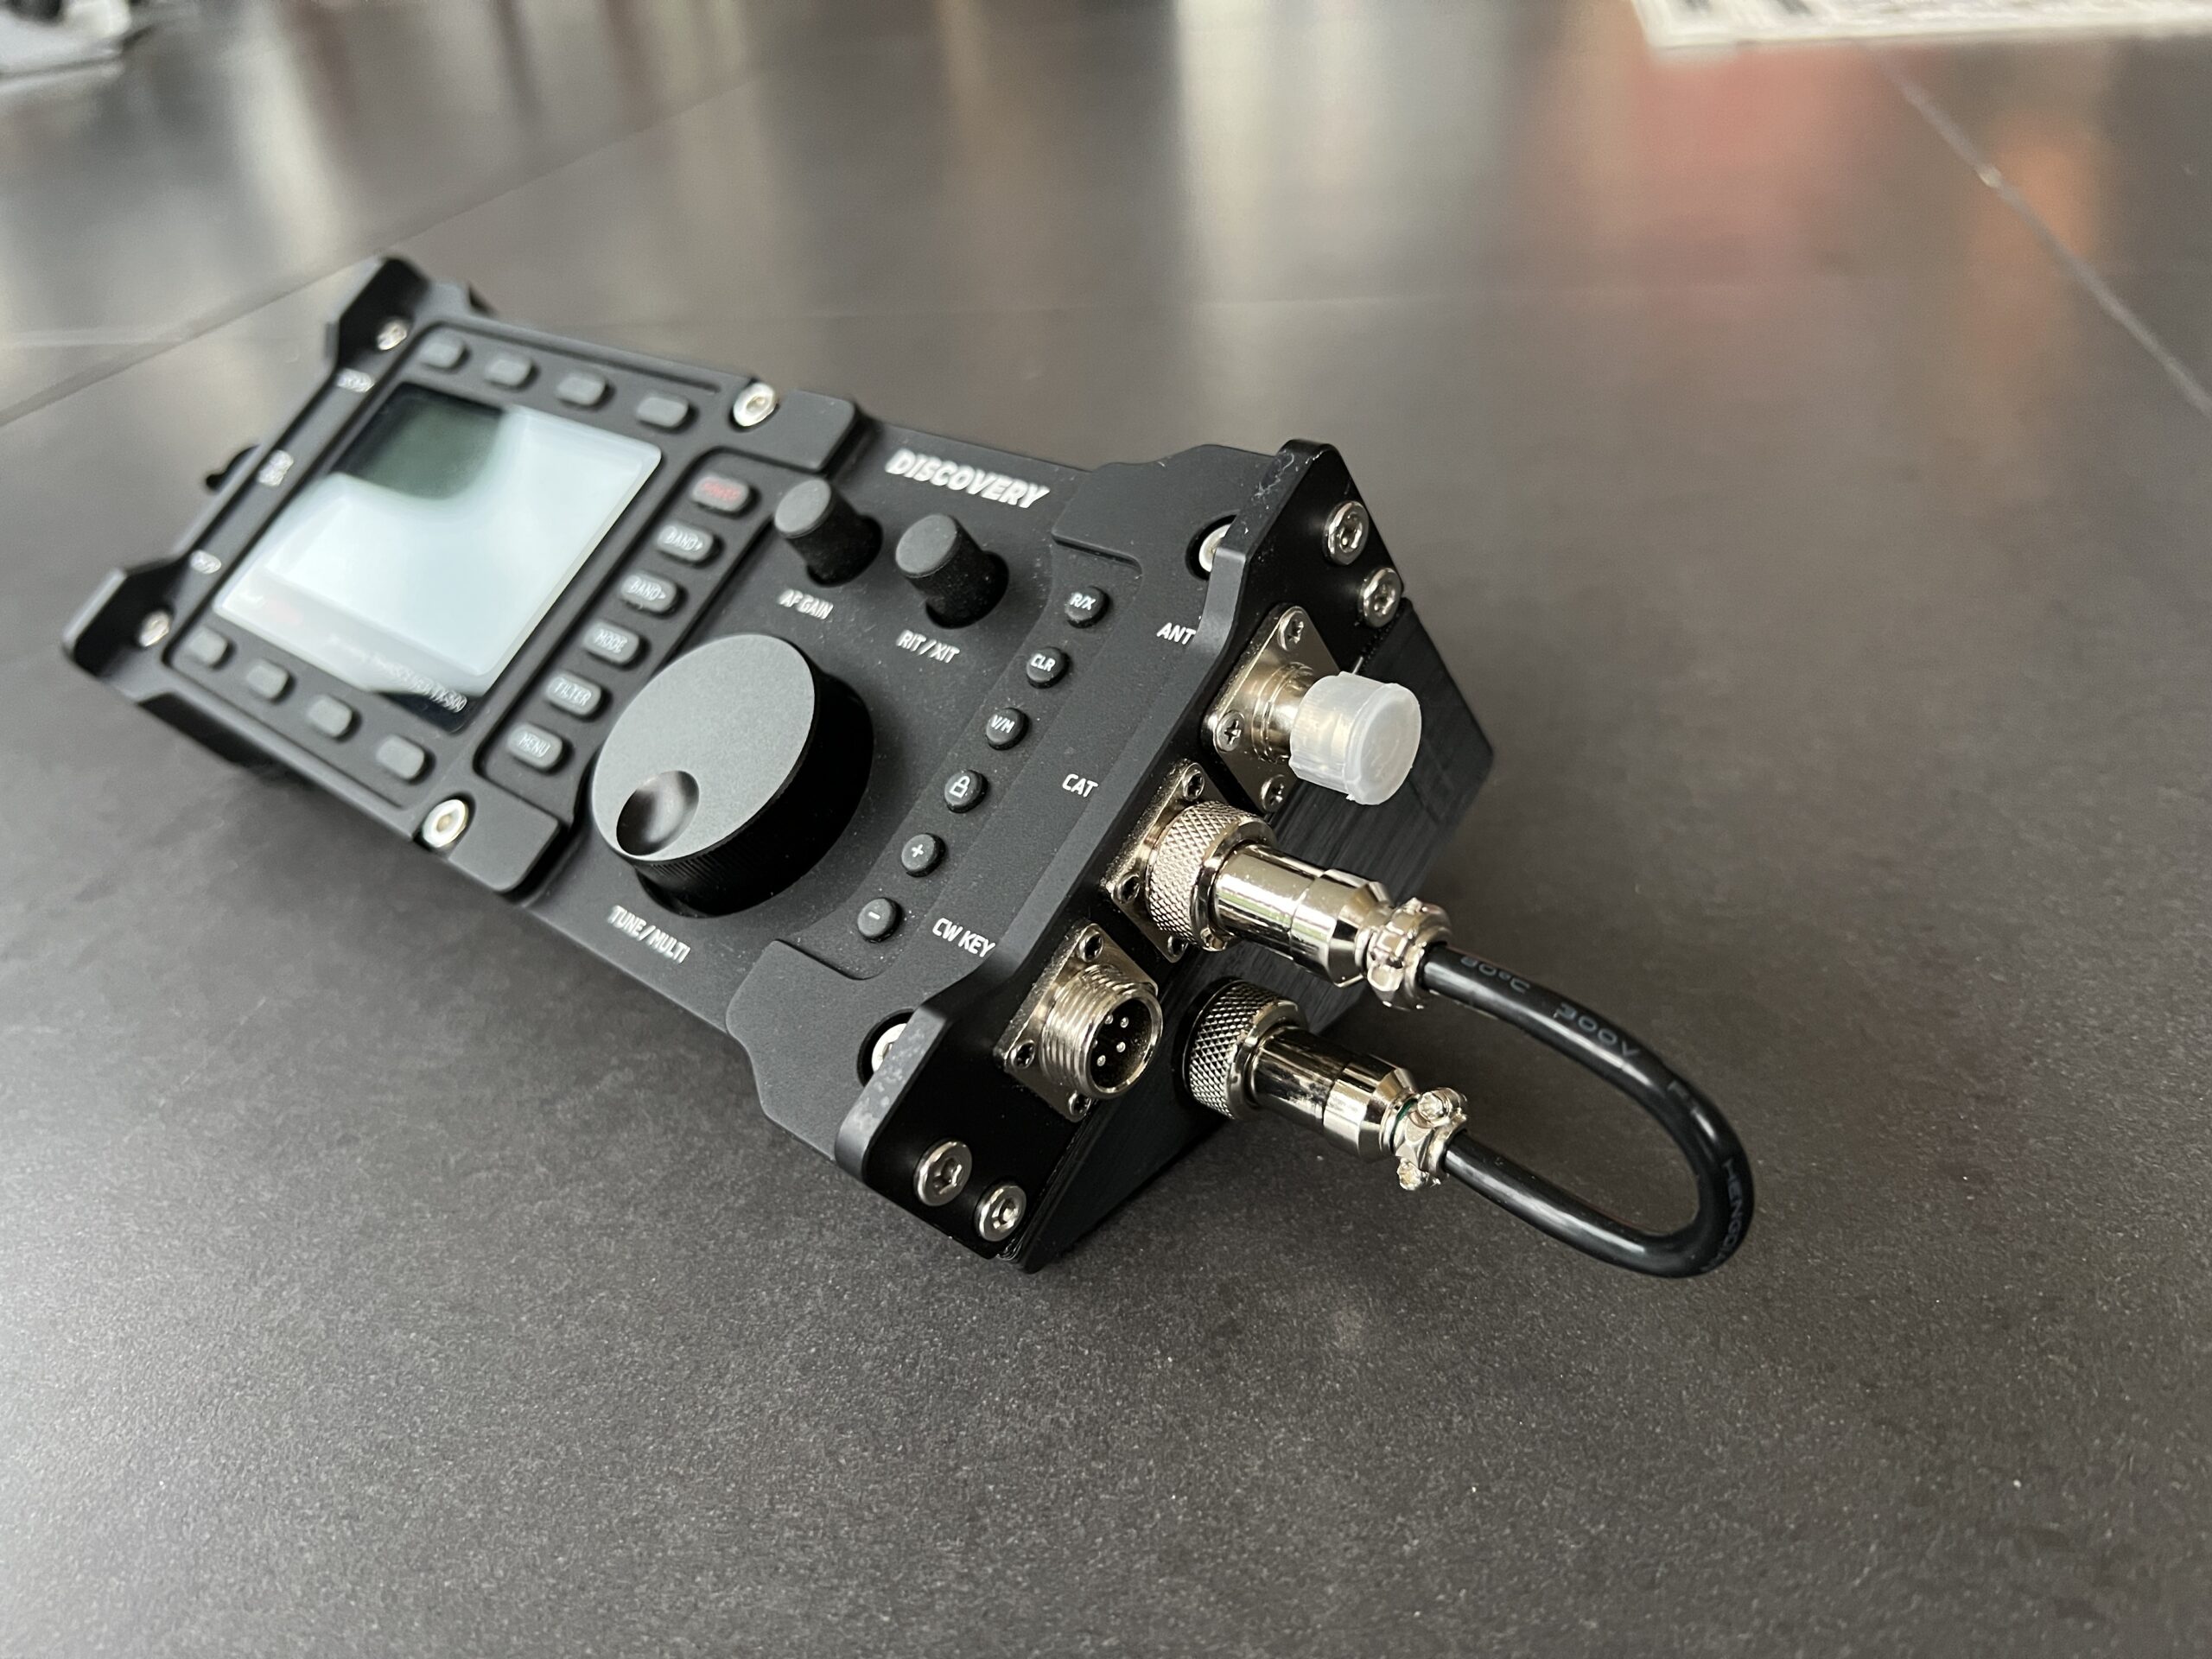
Below are some images of the battery pack connected to the TX-500. The cable on the right side connects the Adafruit 2479 wireless Bluetooth LE interface with the TX-500’s CAT interface.
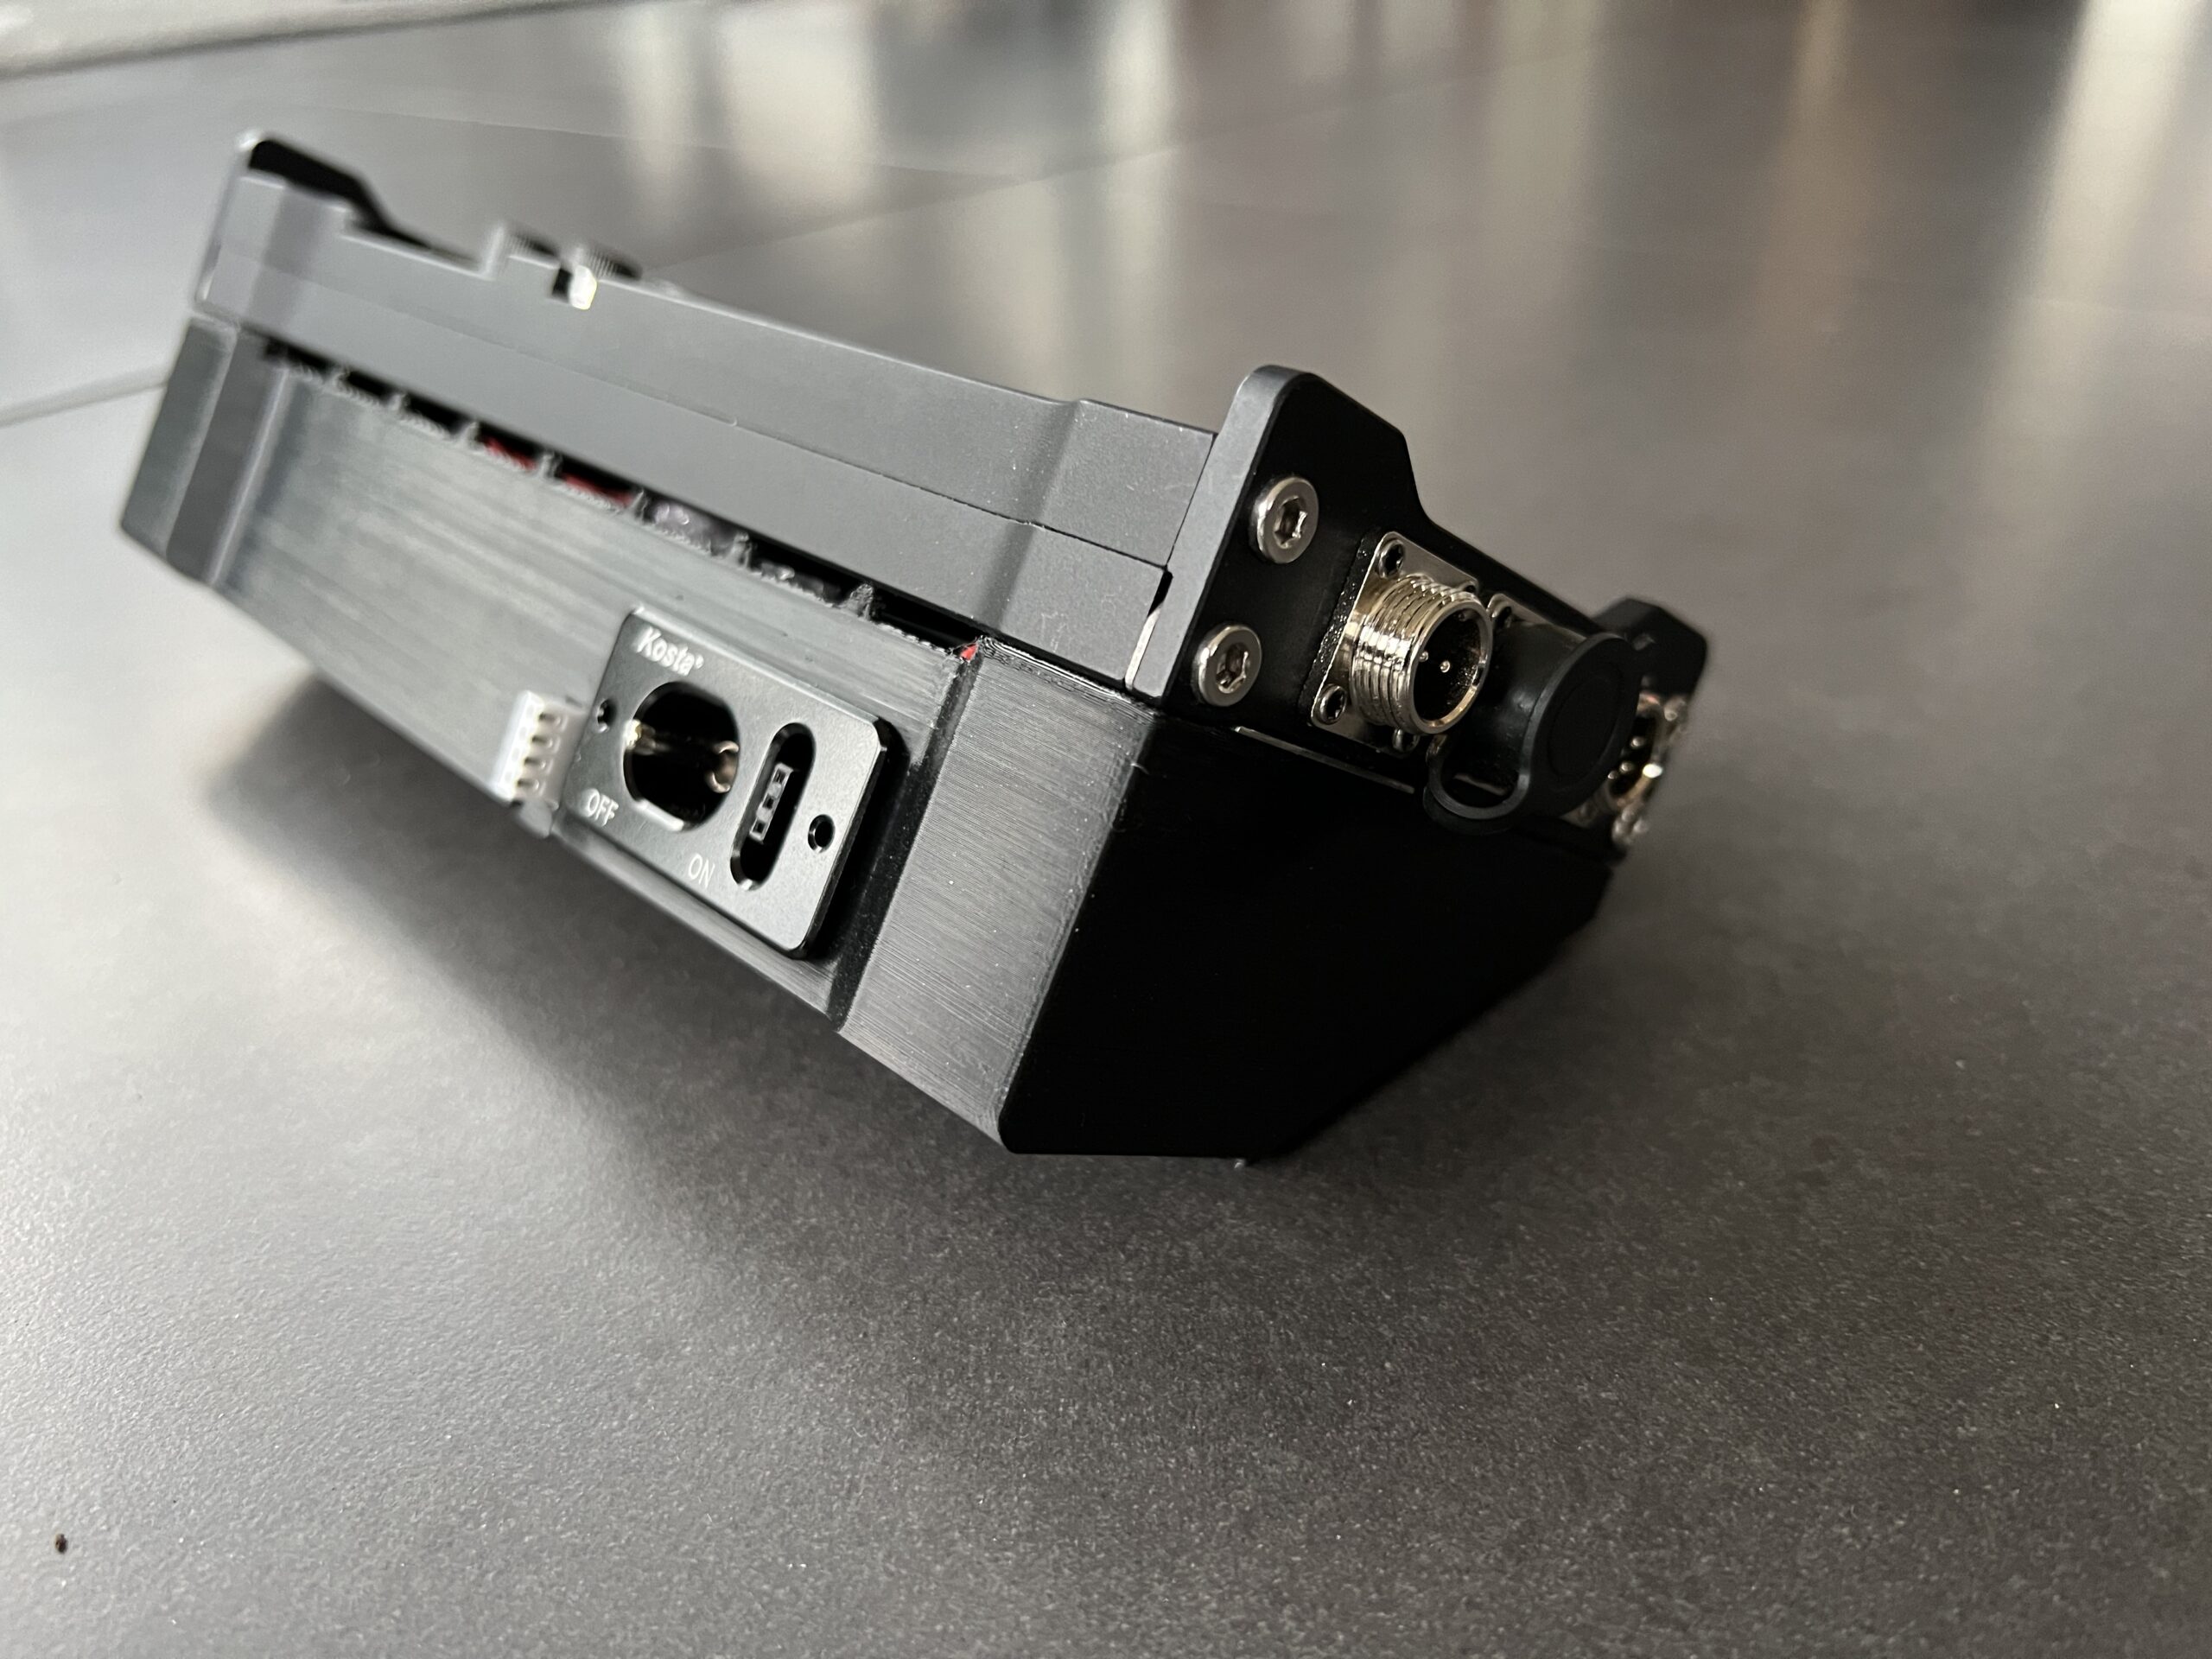
On the back is the main switch. In the “OFF” position, the internal LiFePO4 battery can be charged through the connector to the right of the switch. On the left hand side of the switch there is a balancing connector which can be use when charging to prolong the battery life.
If the internal battery needs to be re-charged, the radio can still be used with the switch in “OFF” position and an external battery connected to the TX-500’s battery connector. WARNING! Don’t put the switch in “ON” position when an external battery is connected!
In the “ON” position, the Bluetooth interface is powered up and the radio can be turned on.
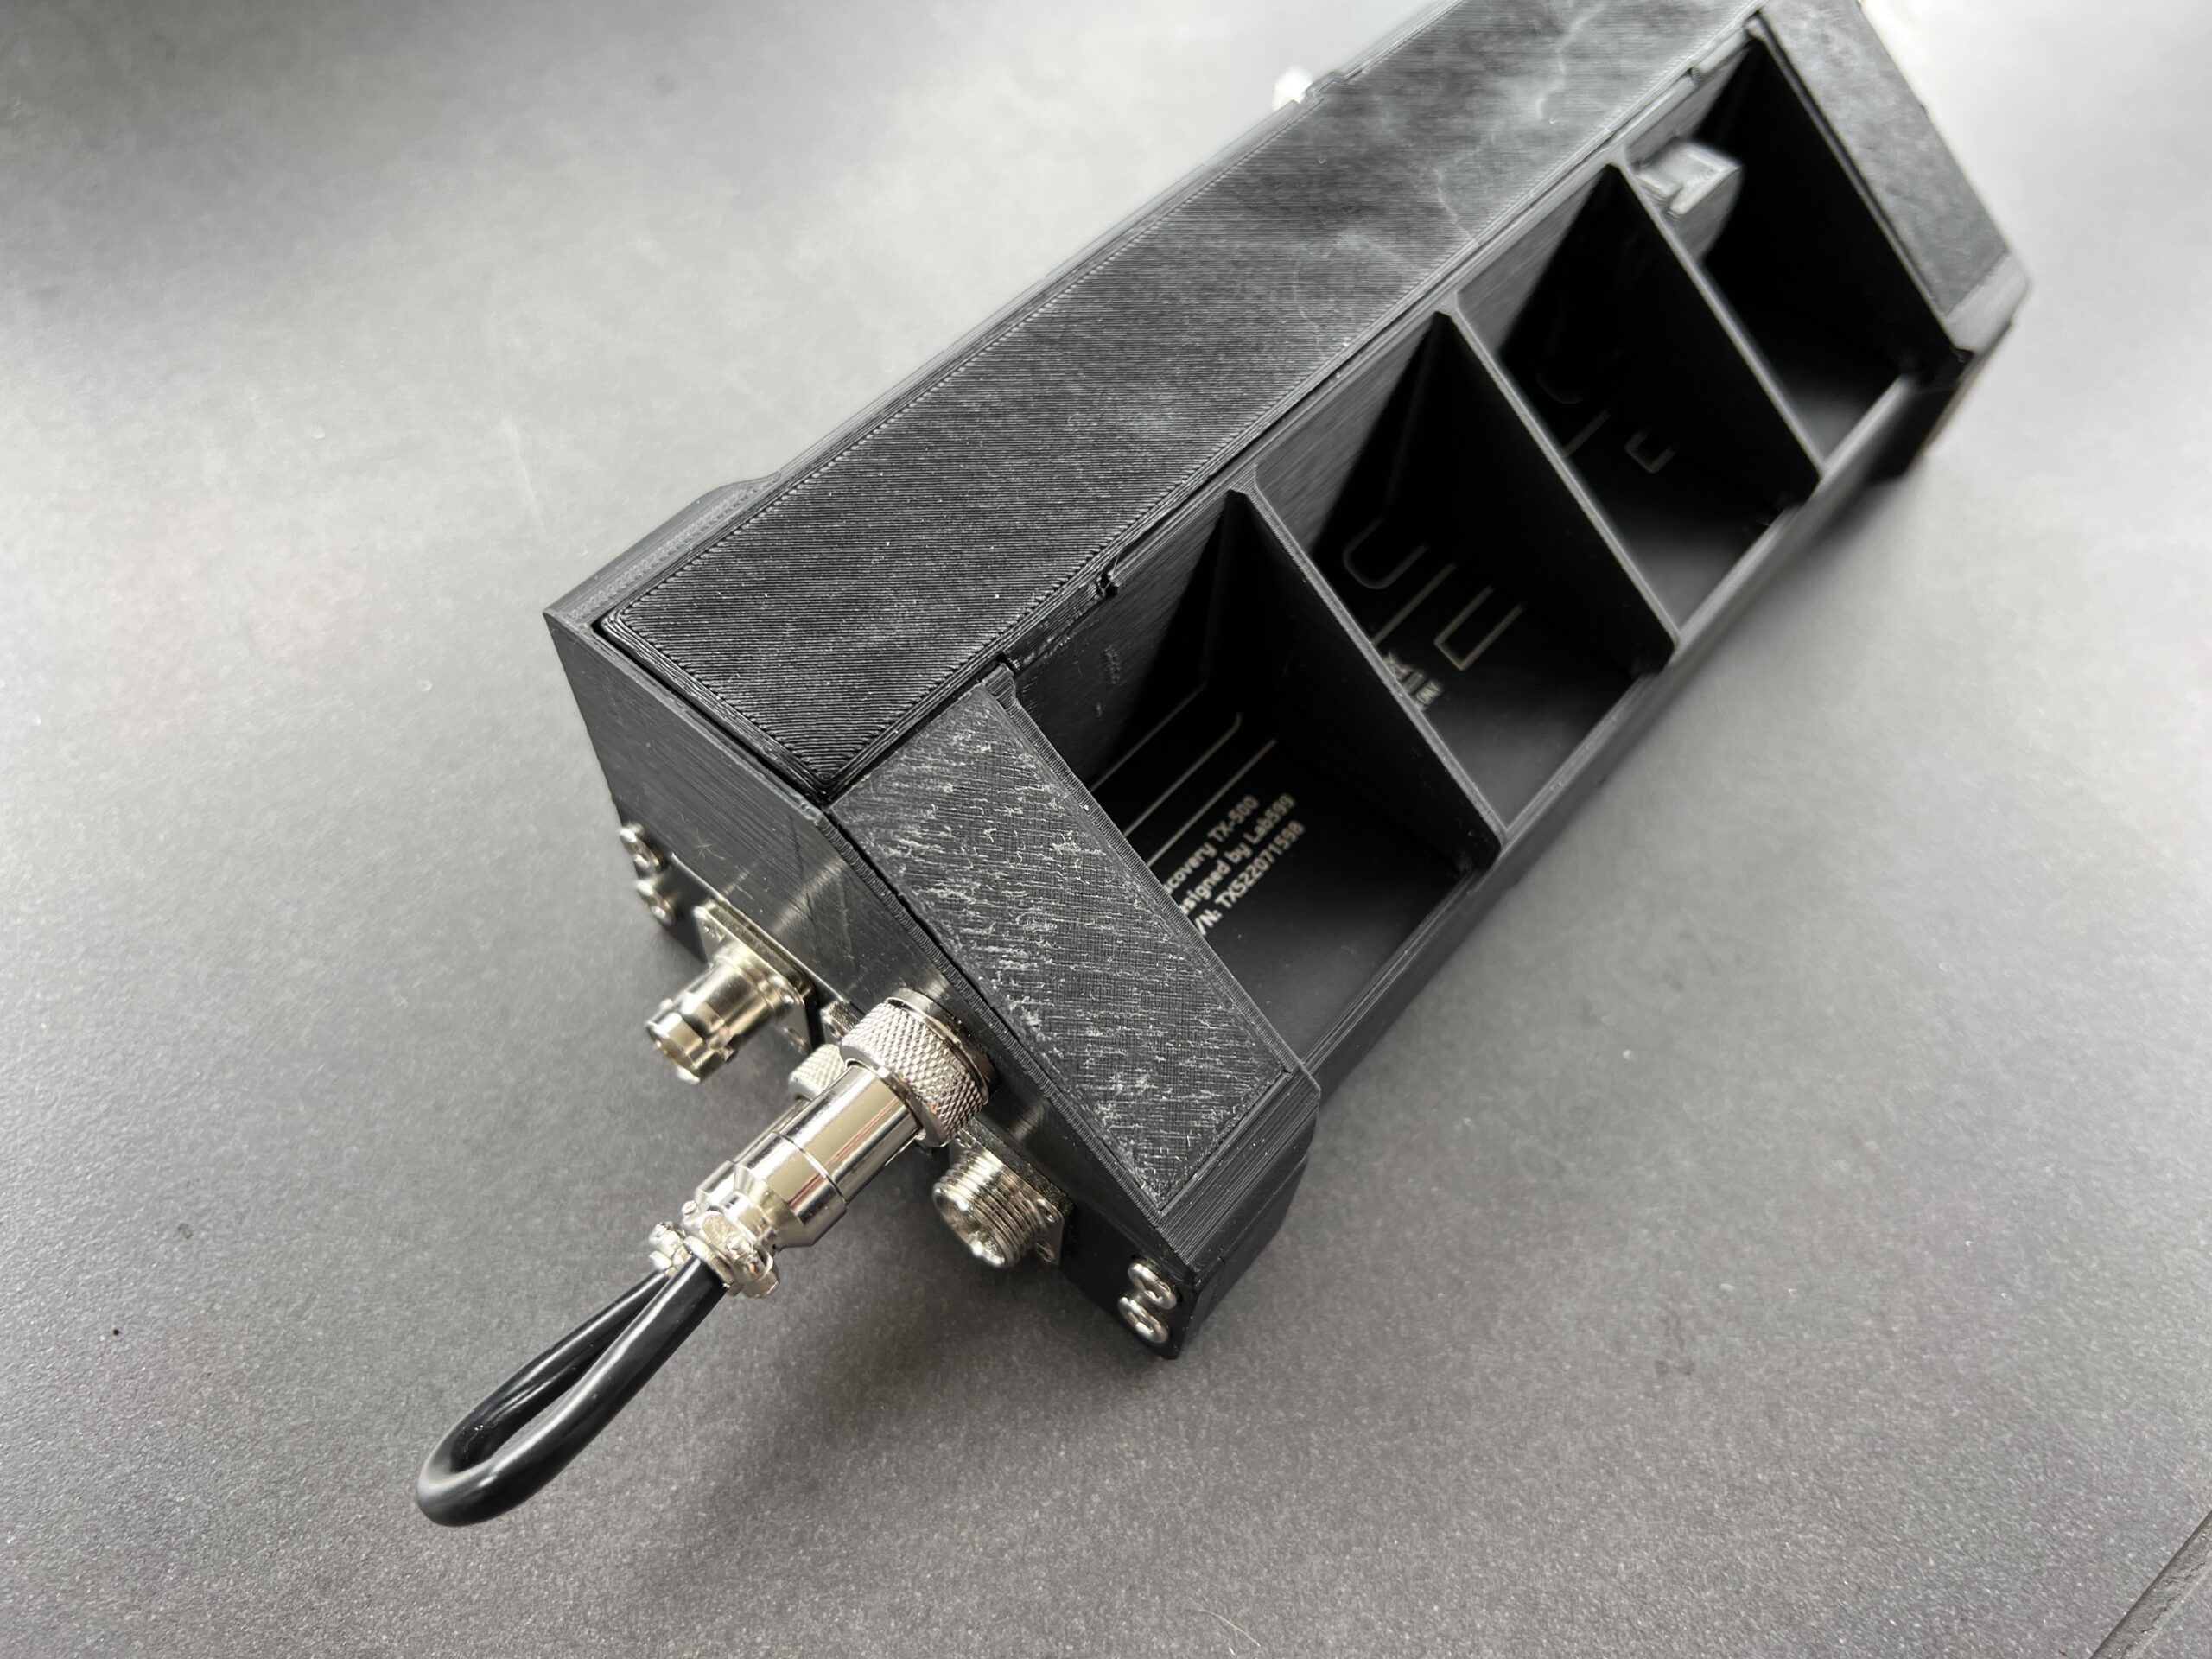
Here you can also see the air vent holes, which prevent the battery from being over-heated.
Here’s the CAT cable connecting the TX-500 to the Adafruit 2479 Bluetooth interface.
Here’s the back side of the battery pack. The main lid snaps into the main box and holds the small lids in place.
Below is the inside of the battery pack. It’s fastened to the TX-500 with four M4x10 screws.
On the left hand side you can see the small Adafruit 2479 Bluetooth LE interface circuit board.
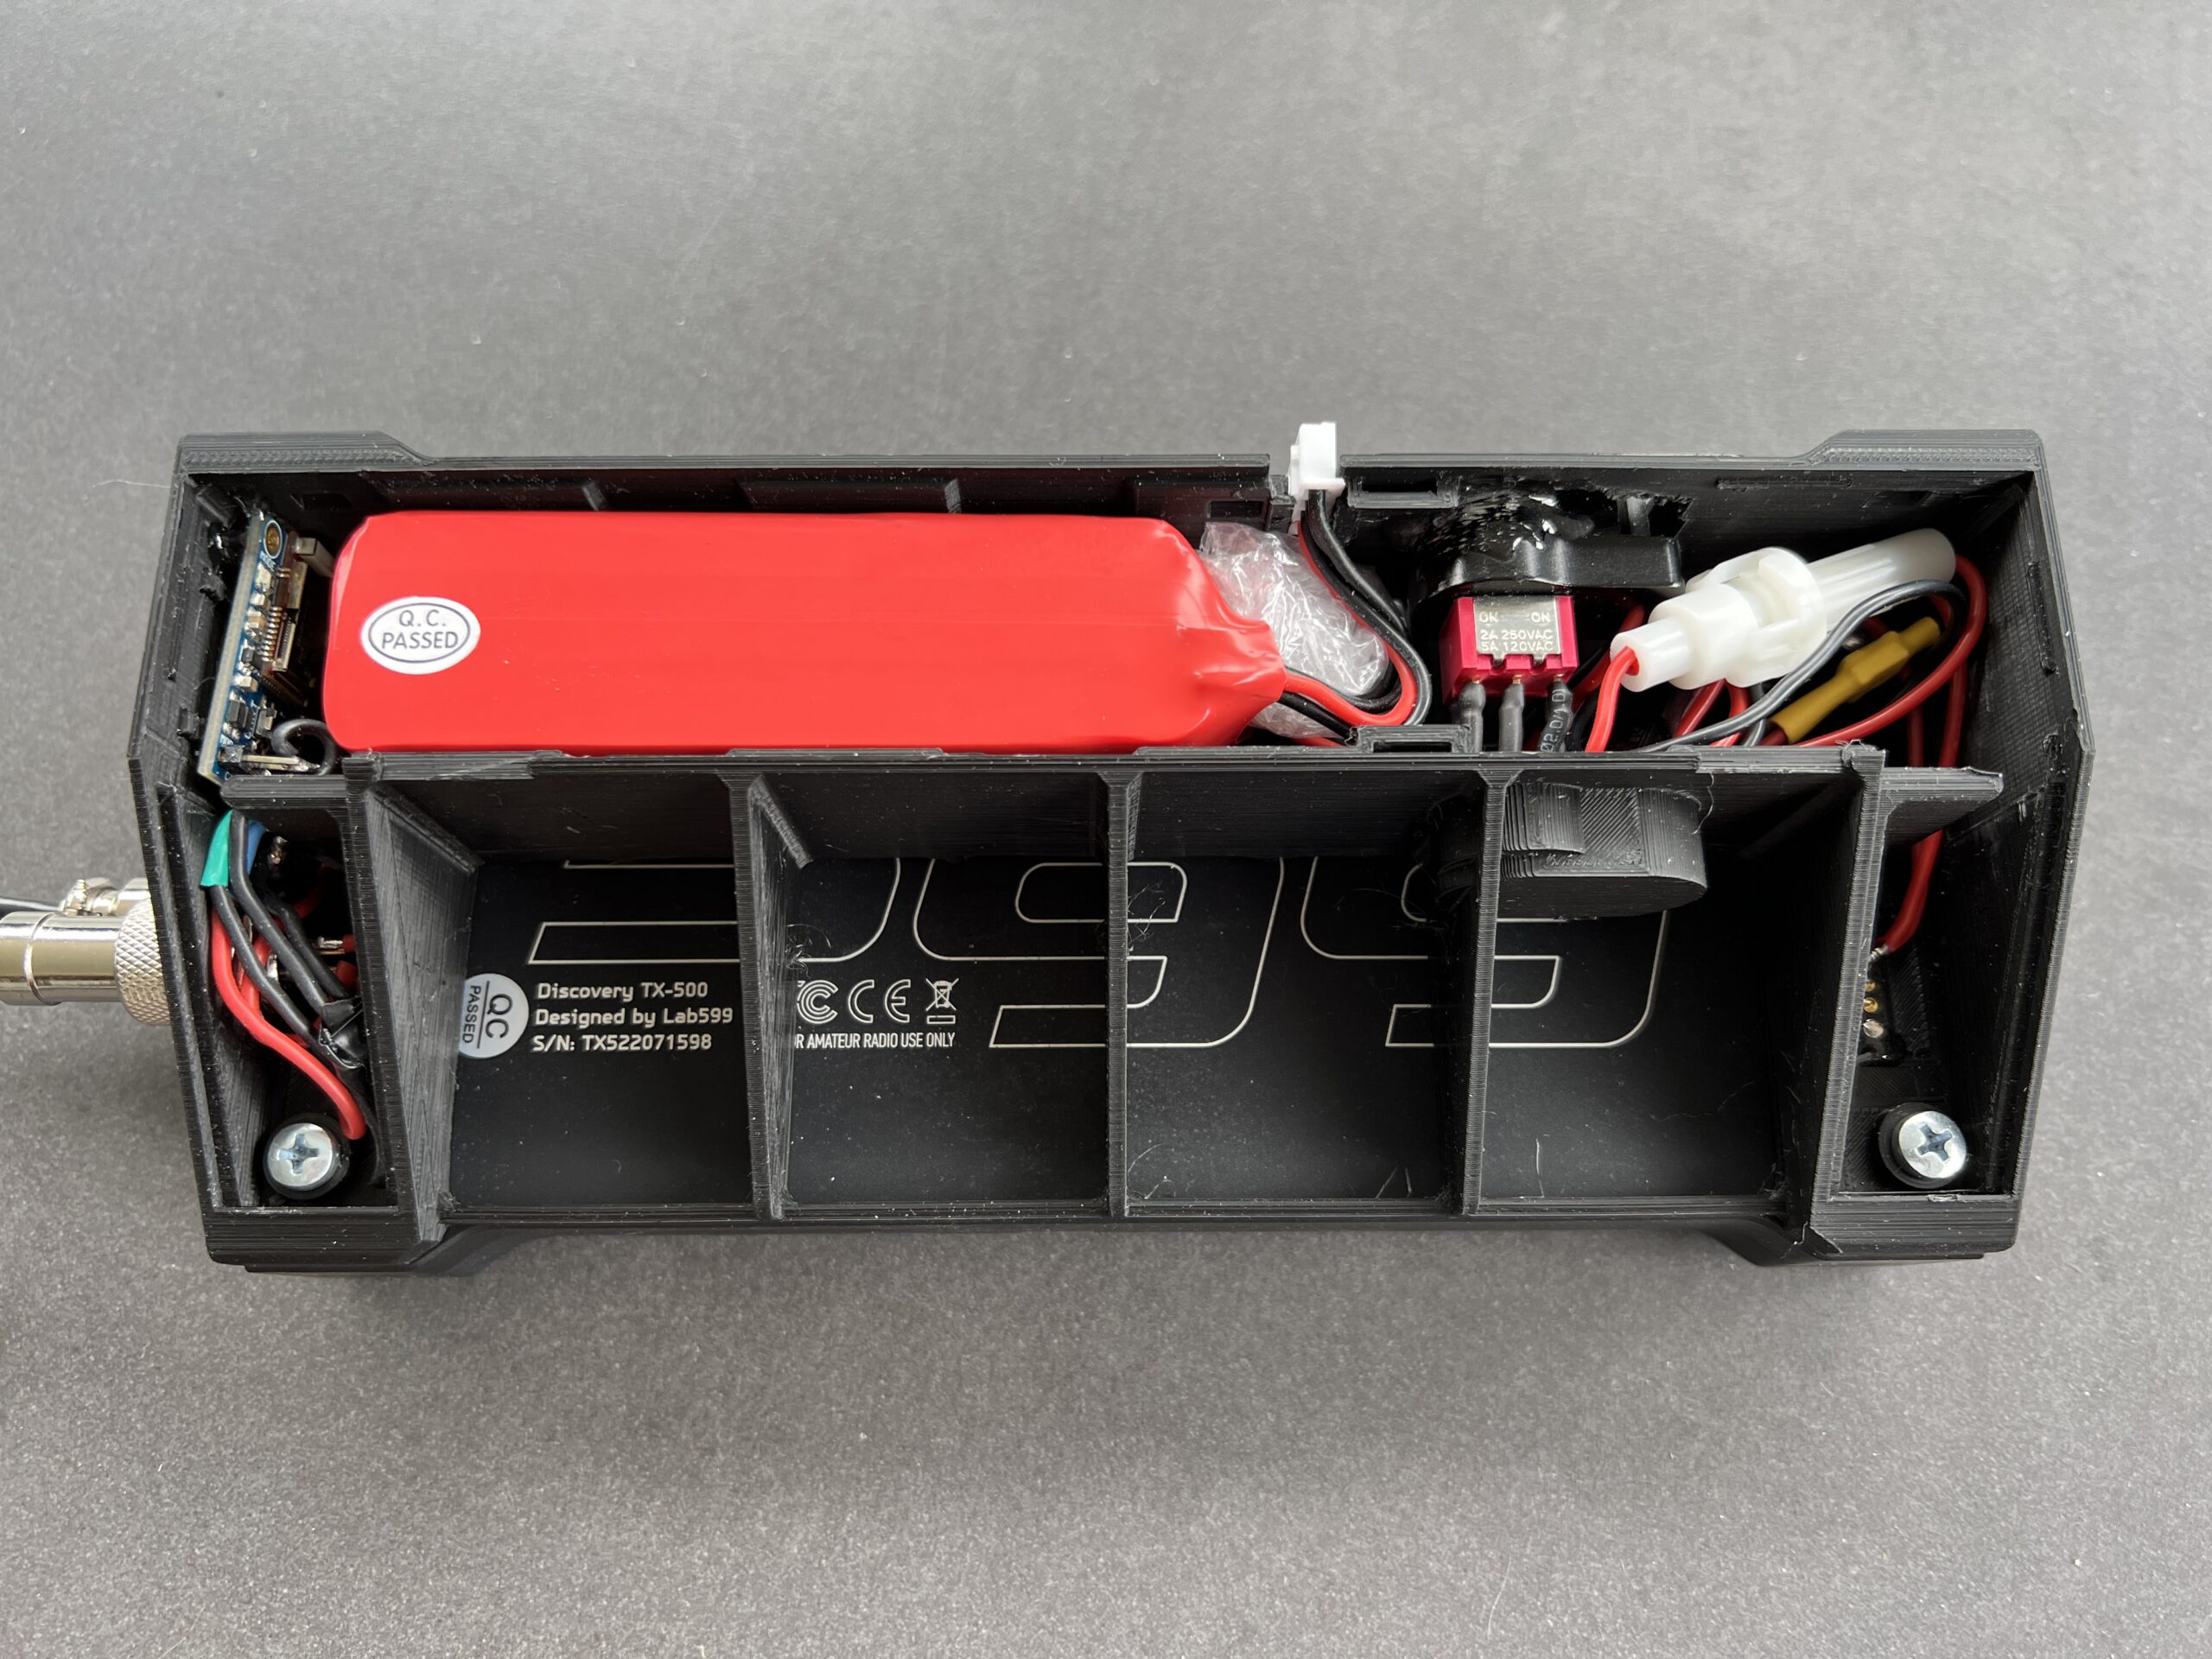
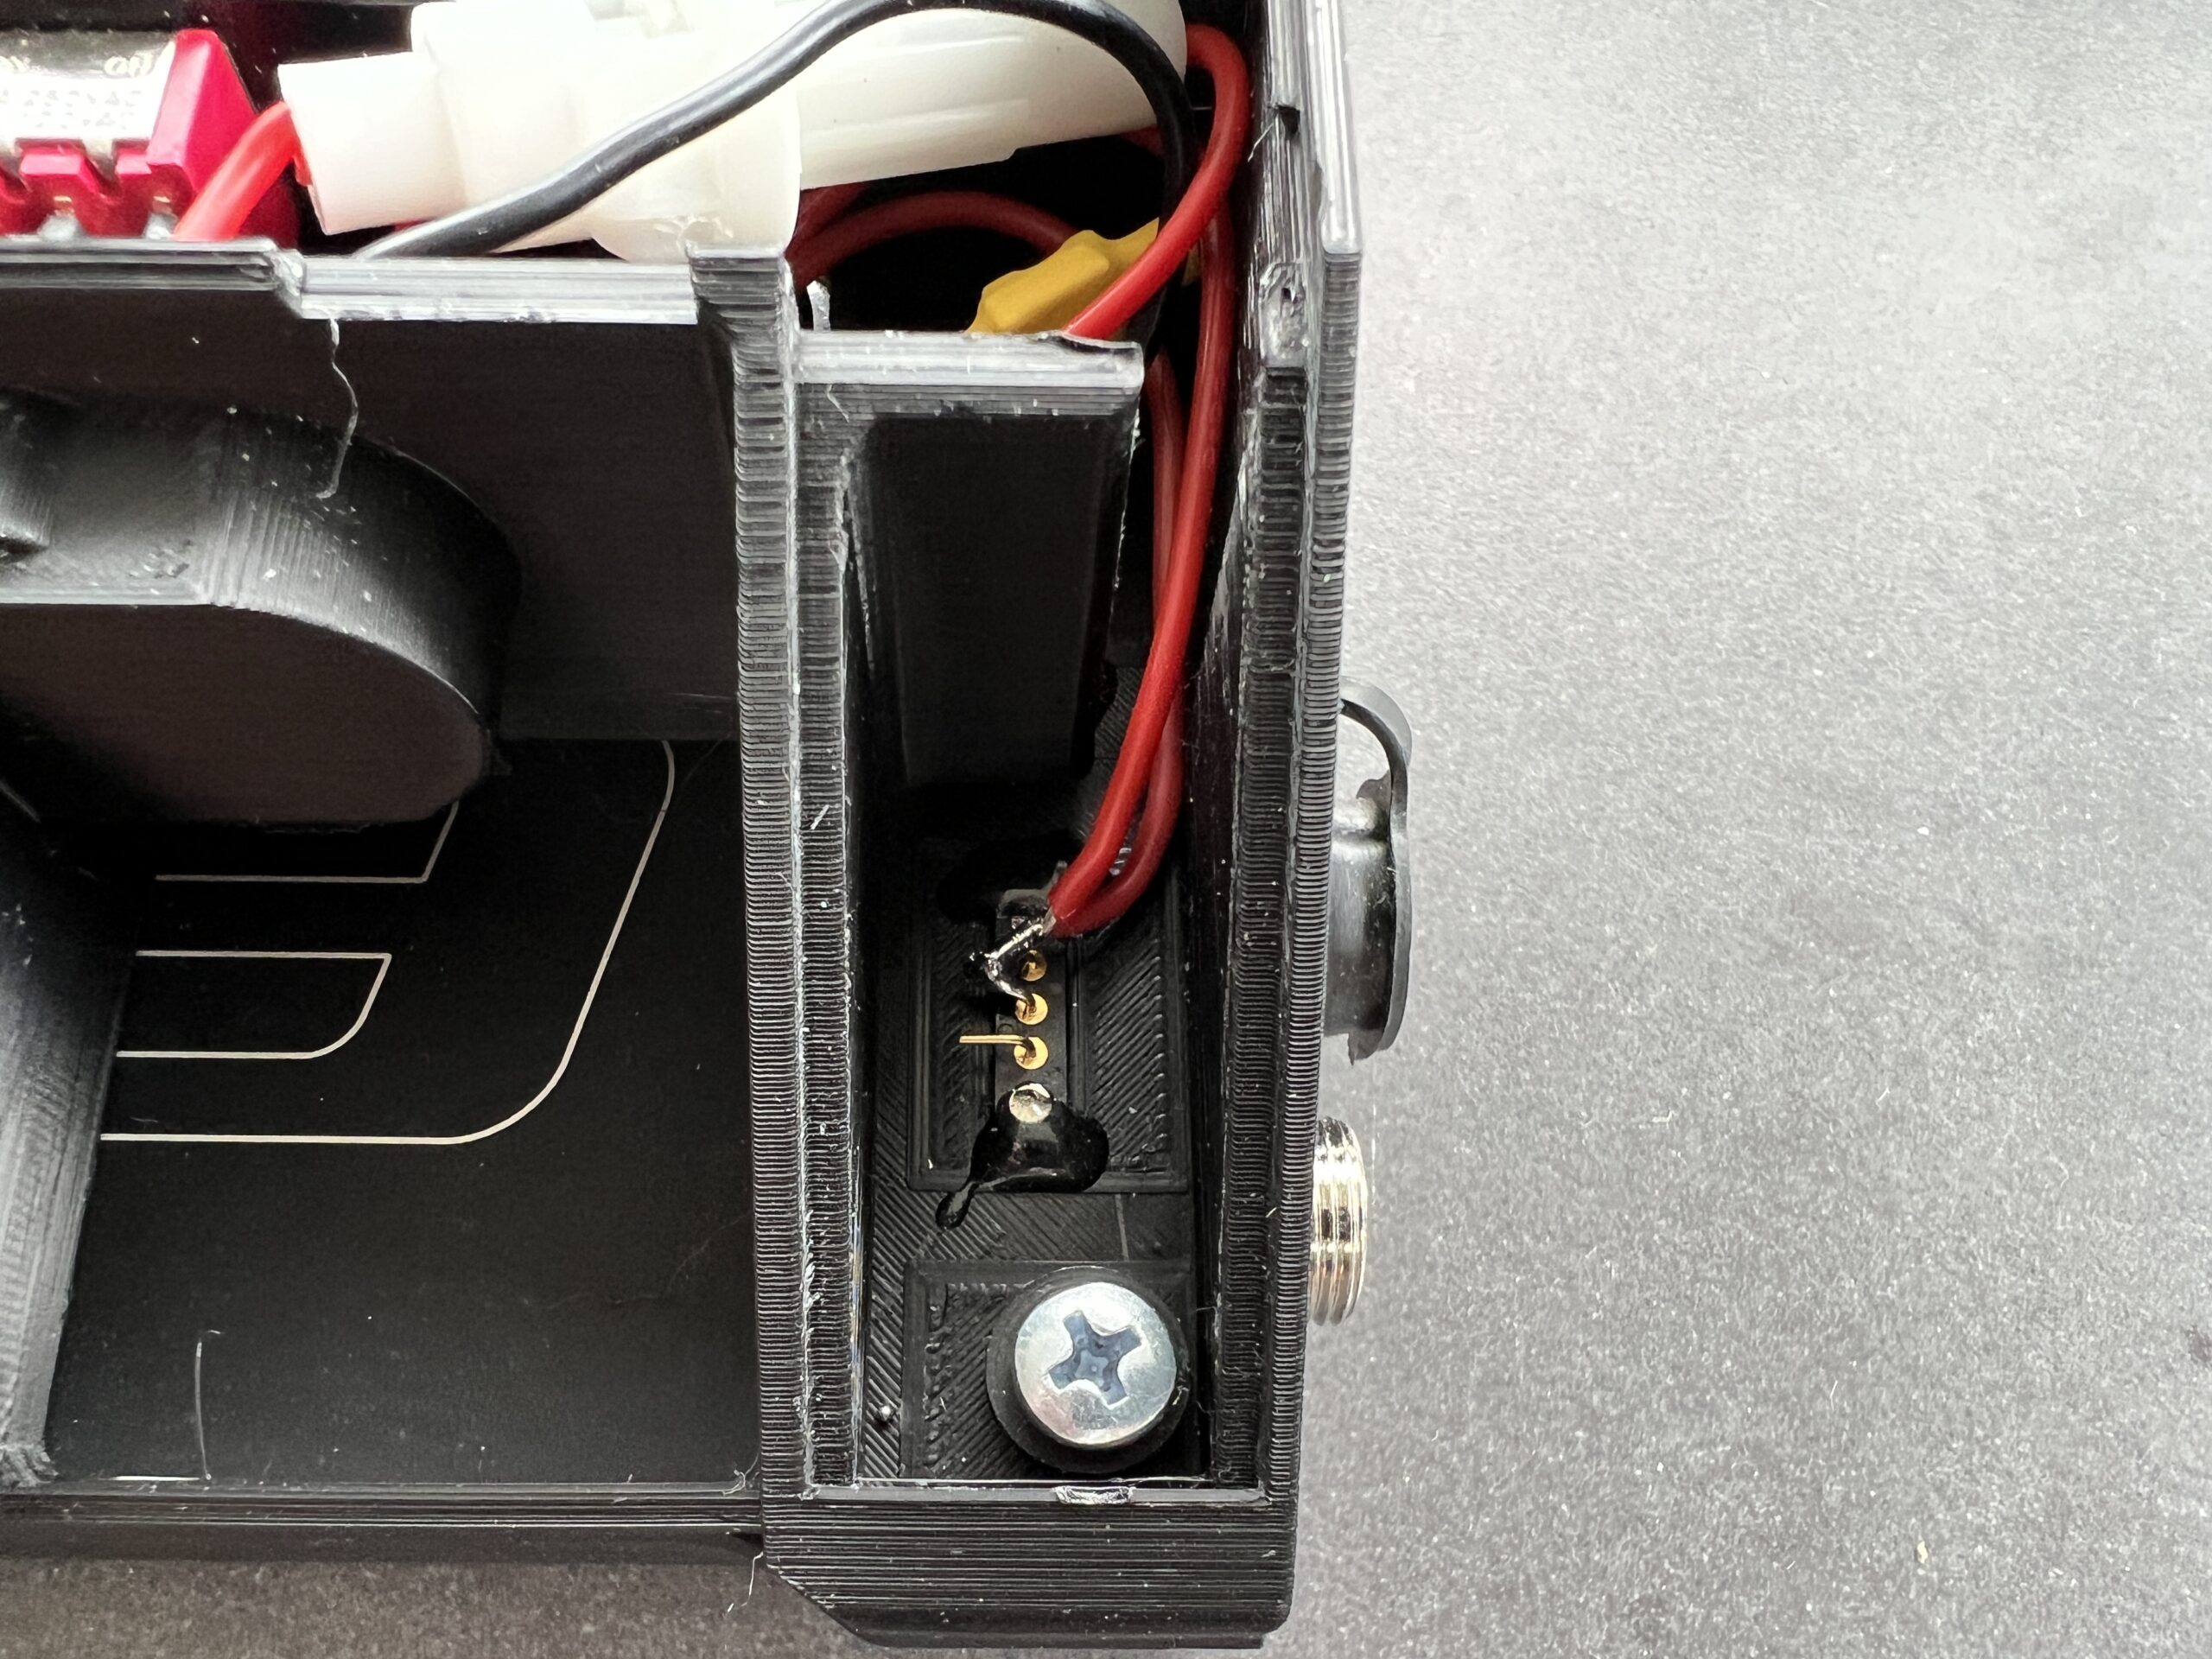
Below you can see one of the the spring-loaded magnetic connectors that are used to supply the power to the TX-500.
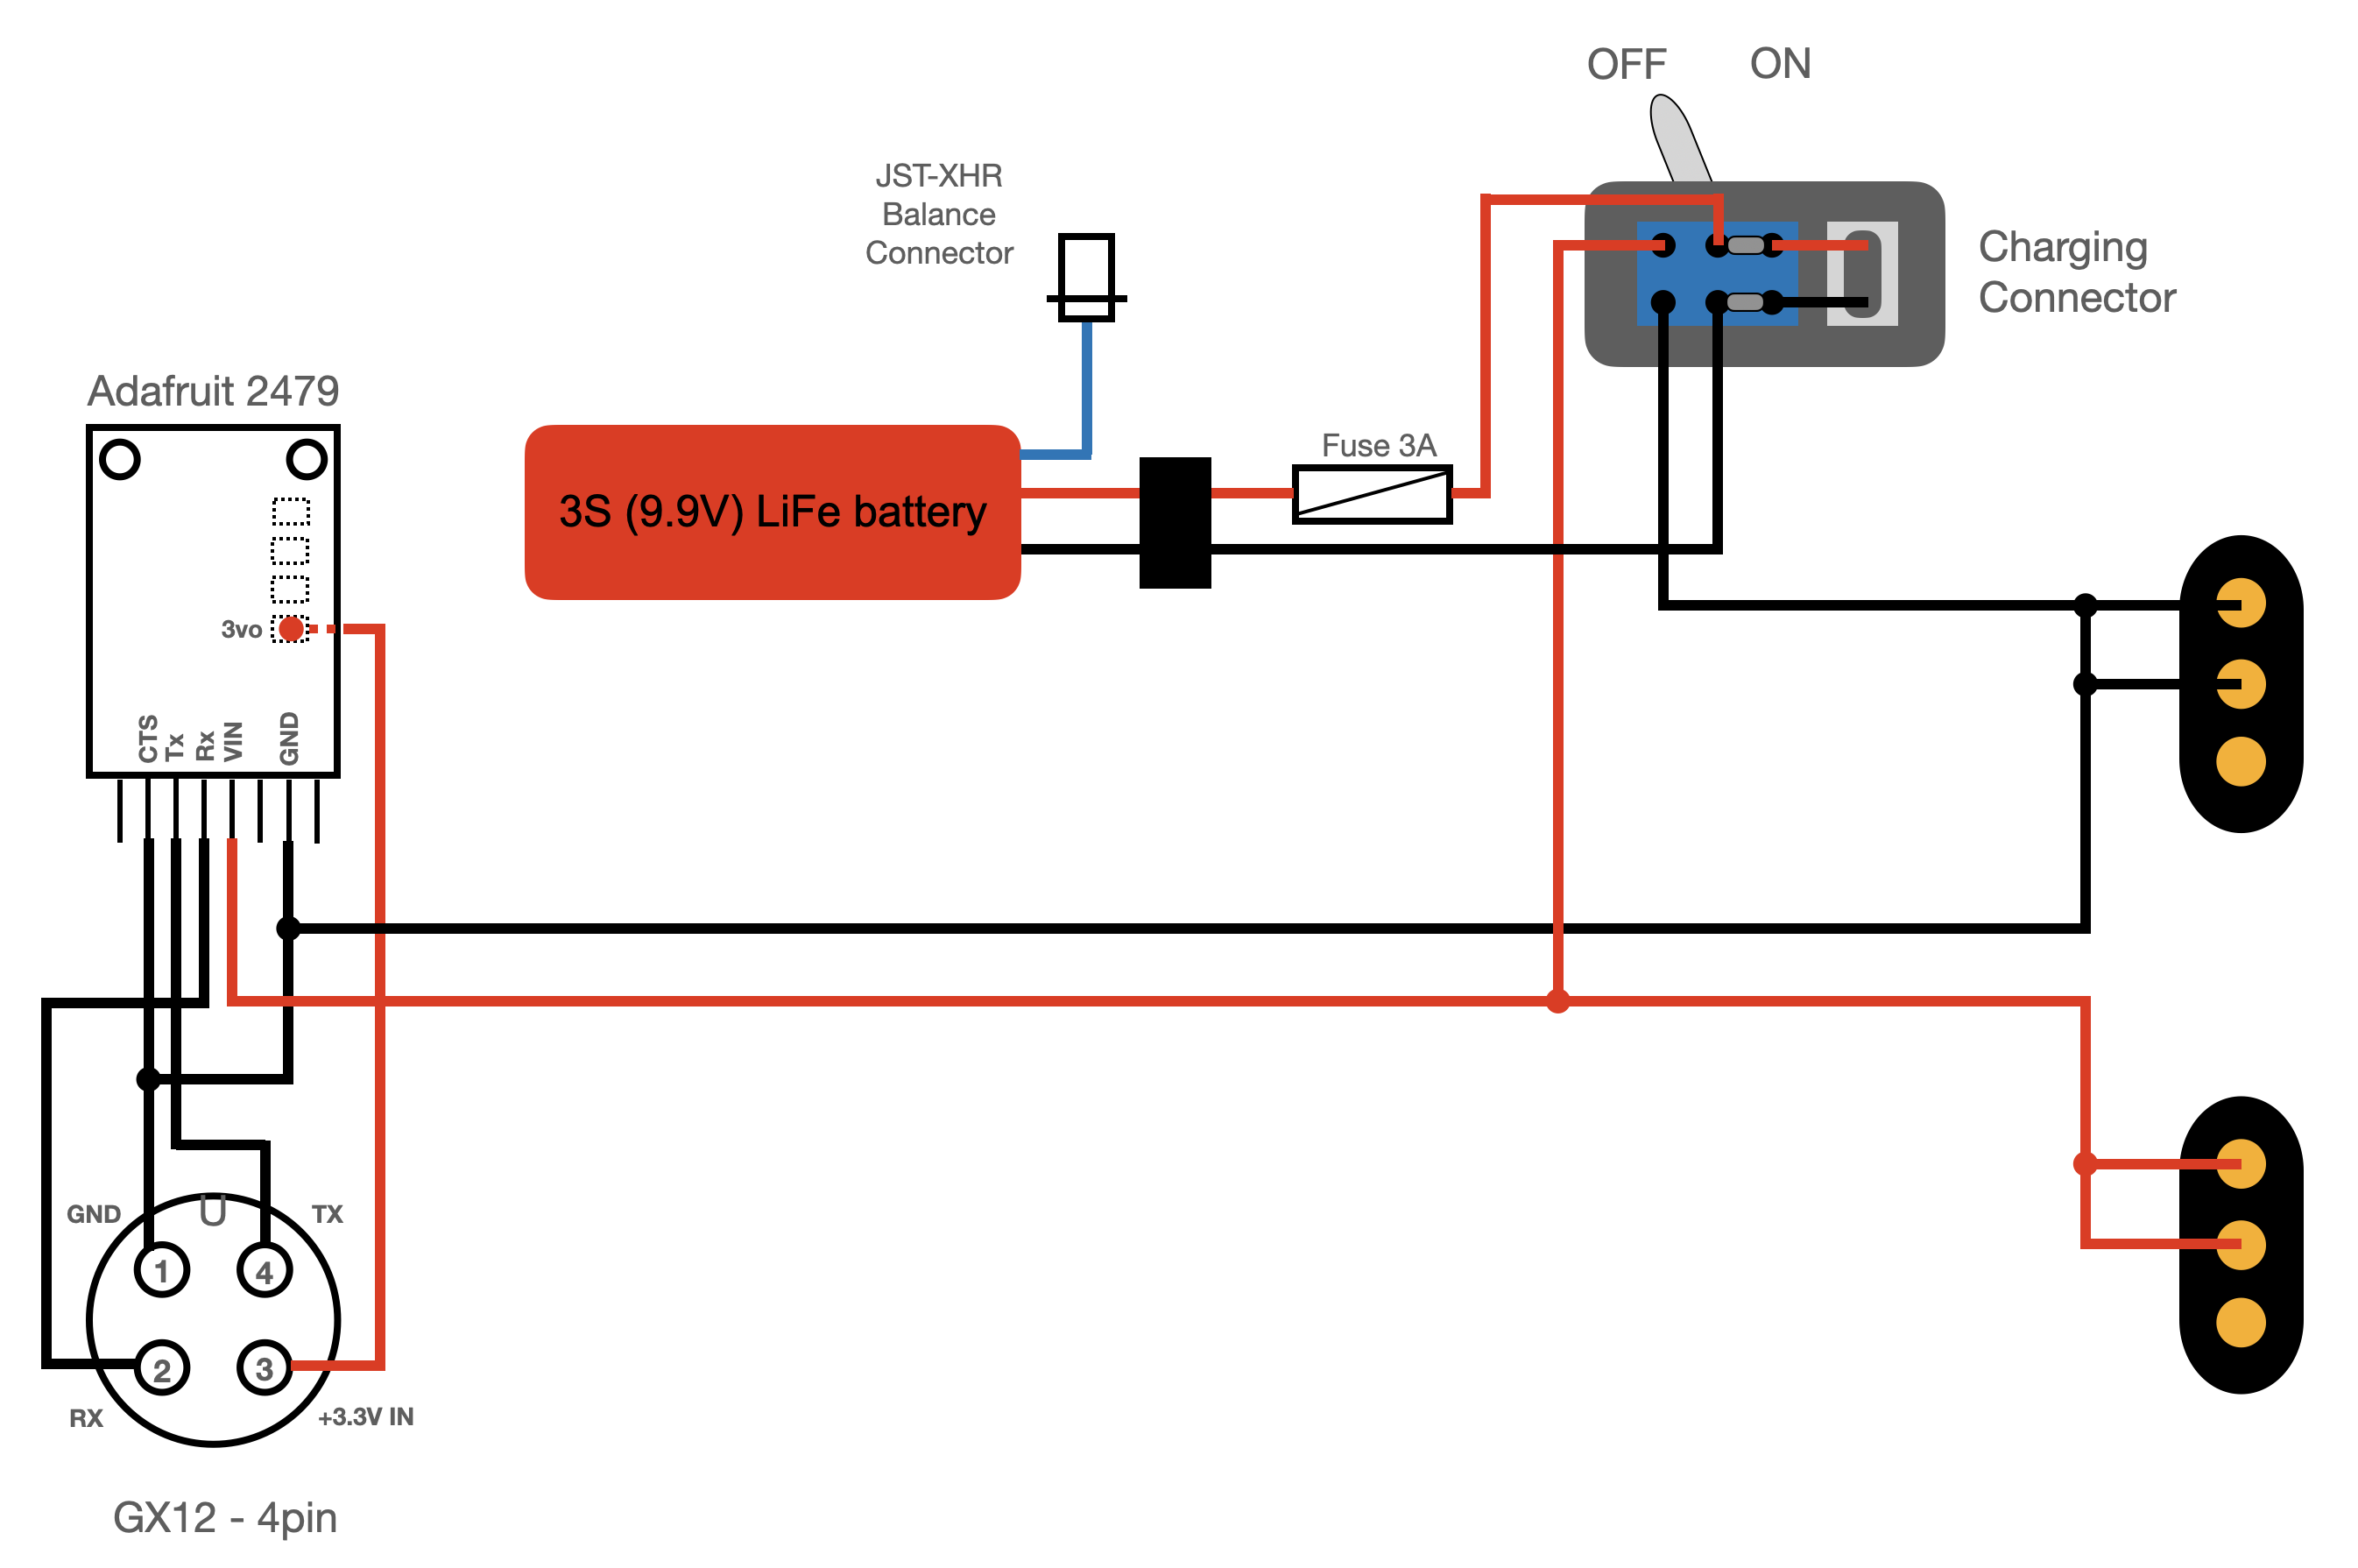
Below is the wiring diagram for the battery pack.
When the switch is in the “OFF” position, the charging connector is connected to the battery.
Click here to find some of the components.
Click here to find the .STL files for 3D-printing the DIY battery pack case.
Please note that you should use supports when printing and the main box should be printed with a brim to make sure it sticks well onto the print bed. You might need to trim the parts slightly to make them fit well together. My battery pack was printed with PLA filament at 215 C (centigrade) and the print bed at 65 C. The layers were 0.14 mm thick.
If you like to support this project and make a small donation
(voluntarily, of course!), it’s much appreciated:
Please also check out another project I do, a CW practice app for iOS.
Search for “QRQ CW” on the App Store